Tools and Materials
These simple wind tunnels have three parts – the tunnel, the fan, and the fan stand. They can be easily disassembled for storage.
Pro Tip: Ask your local hardware store or woodwork teacher to cut the timber to size, to save time.
Please ensure you follow your school WH&S procedures while constructing this equipment.
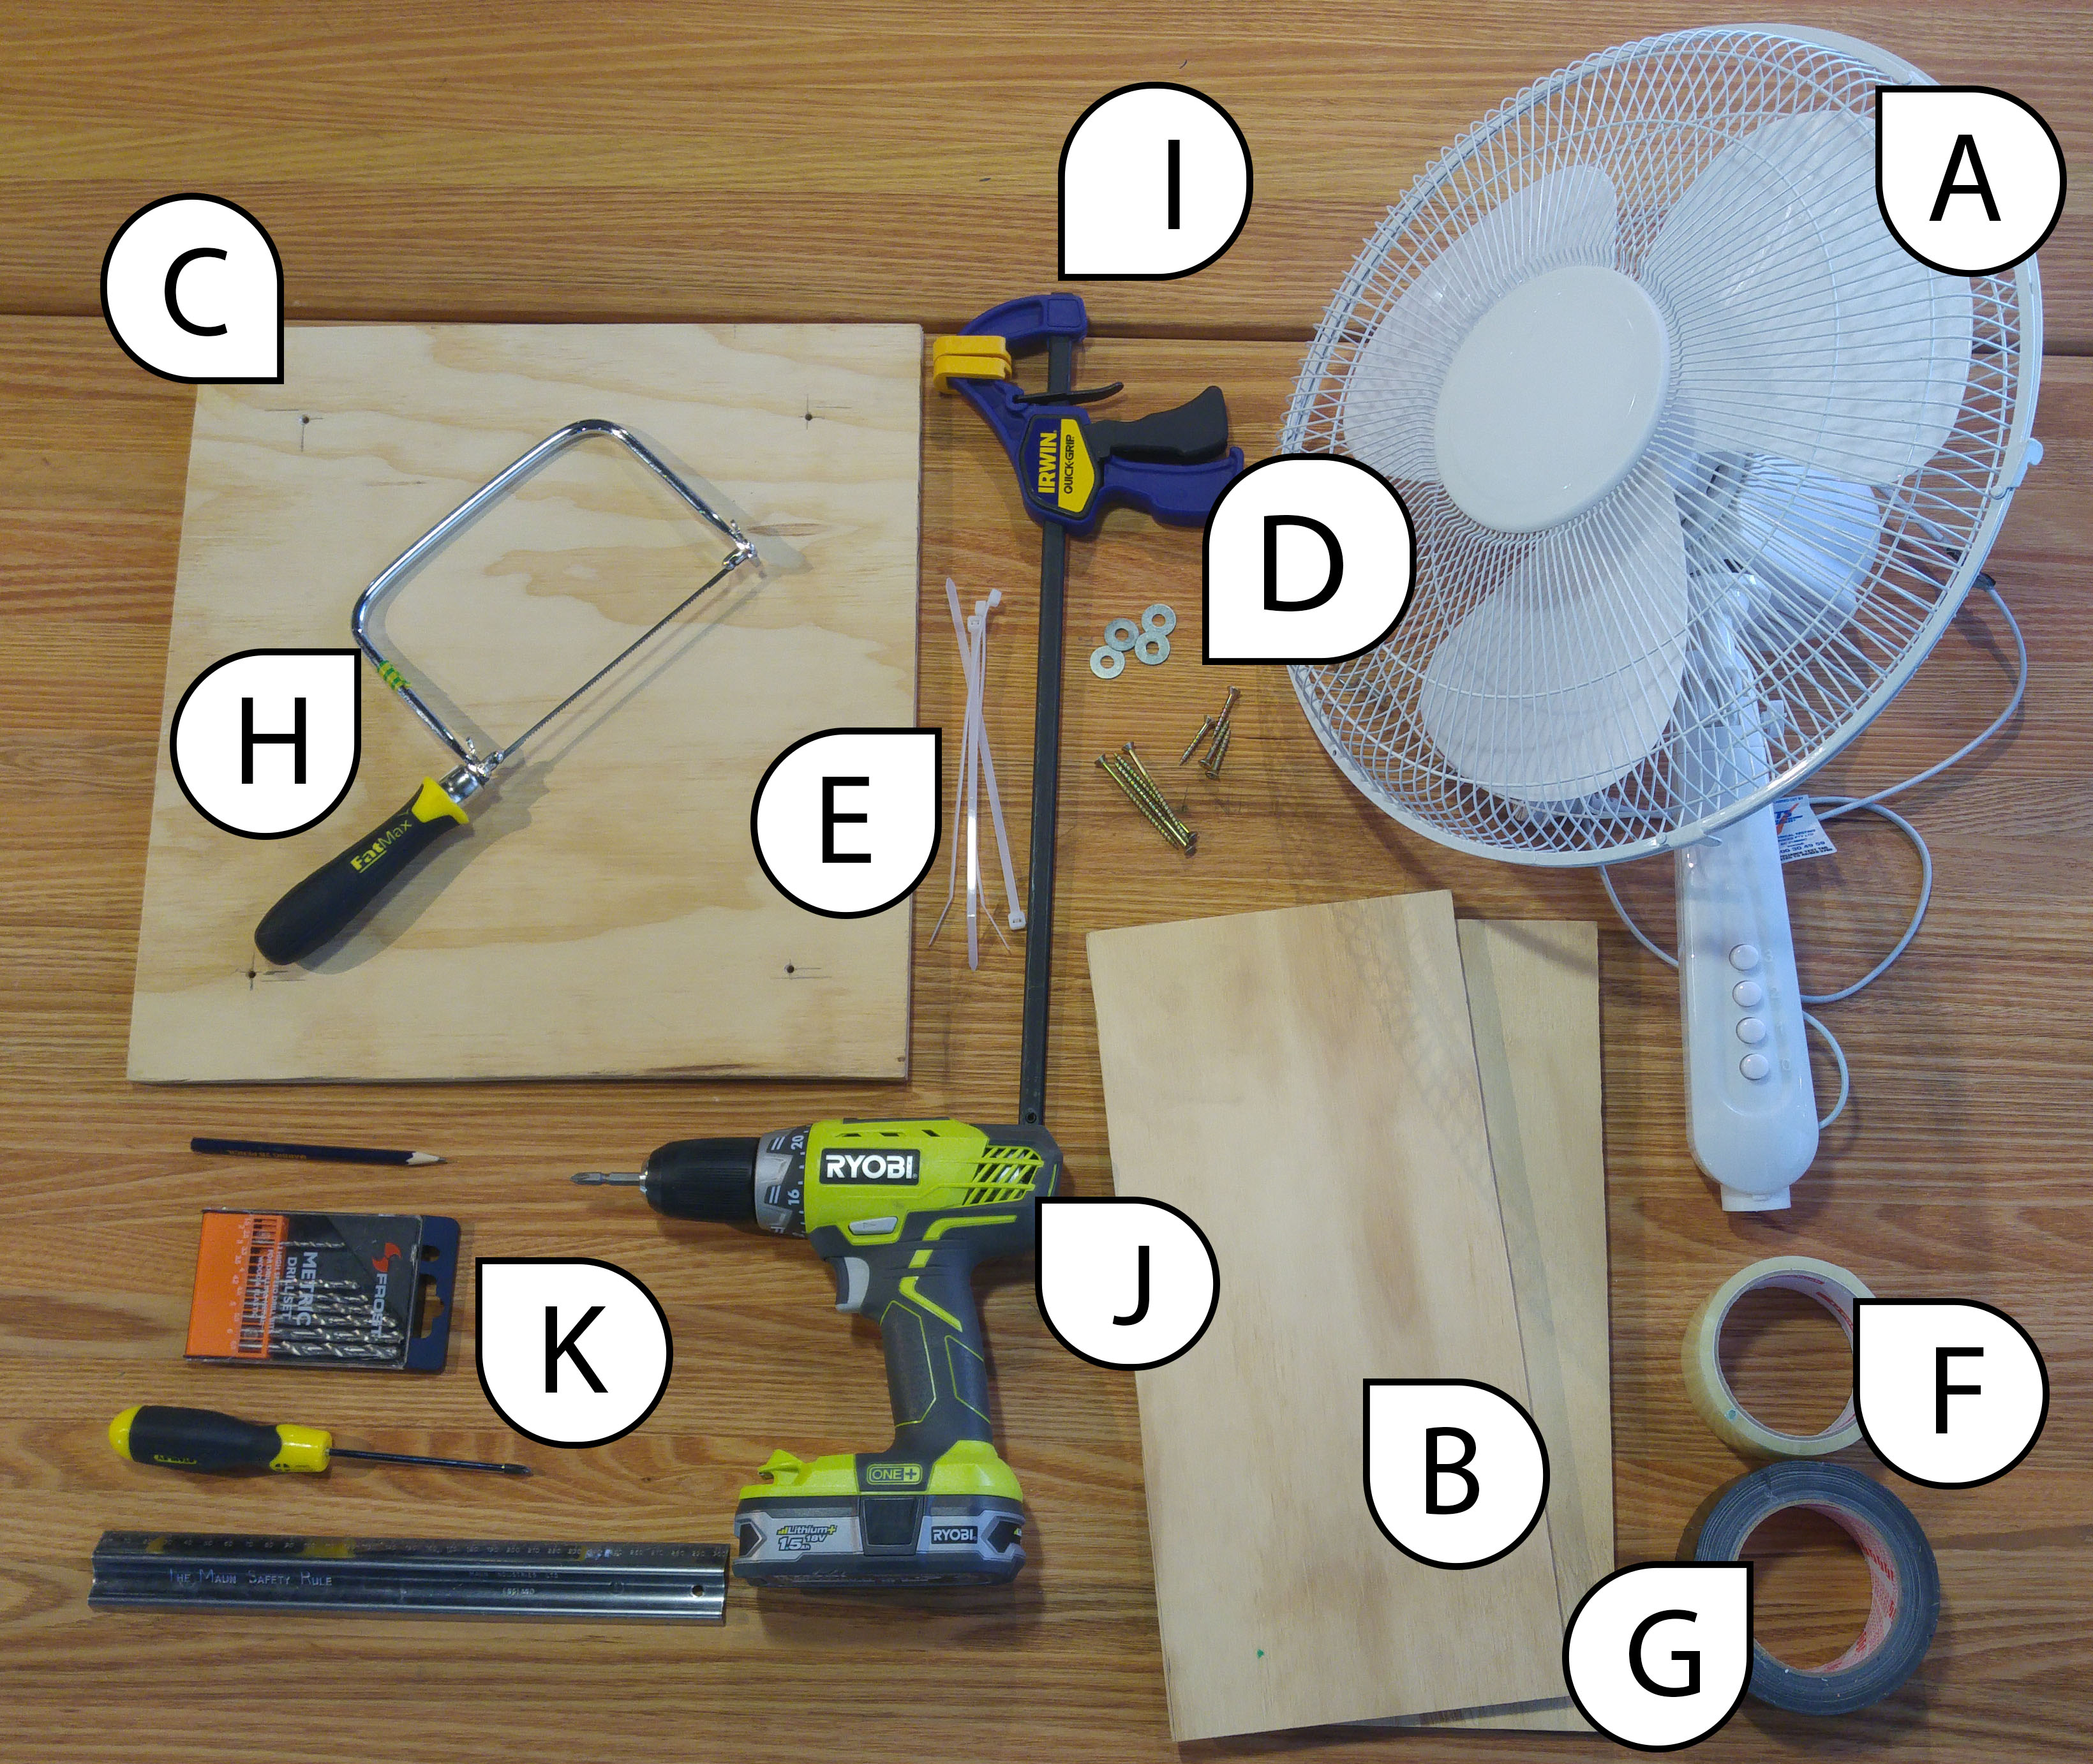
A. Pedestal fan (head and neck only), or box fan
B. 2 x 10mm wooden planks, 500x200mm
C. 1 x 10mm wooden plank, 500x500mm
D. 8 x screws (at least 30mm), and 4 washers
E. 4 x Zip ties
F. Clear packing tape
G. Gaffer tape
H. Saw
I. Clamp(s) or vice
J. Drill
K. Drill bits, screw driver, pencil, ruler
Not Pictured:
- 1 x trellis wire or chicken coop wire, 1200x1200mm
- Clear plastic sheet, totalling 1200x1200mm area, like: Large garbage bags (try Bunnings), vinyl tablecloth Large roll of cling wrap
- Wire cutters and pliers
Build Steps
- Mark and cut your timber planks to size.
Your large plank should be approximately the diameter of your fan head, or a little larger. Our fan was 490mm in diameter, so we used 500x500mm.
Your small planks will be attached perpendicular to the large plank, to support the fan head. They need to be wide enough to raise the back and neck of the fan off the ground. We used 500x200mm.
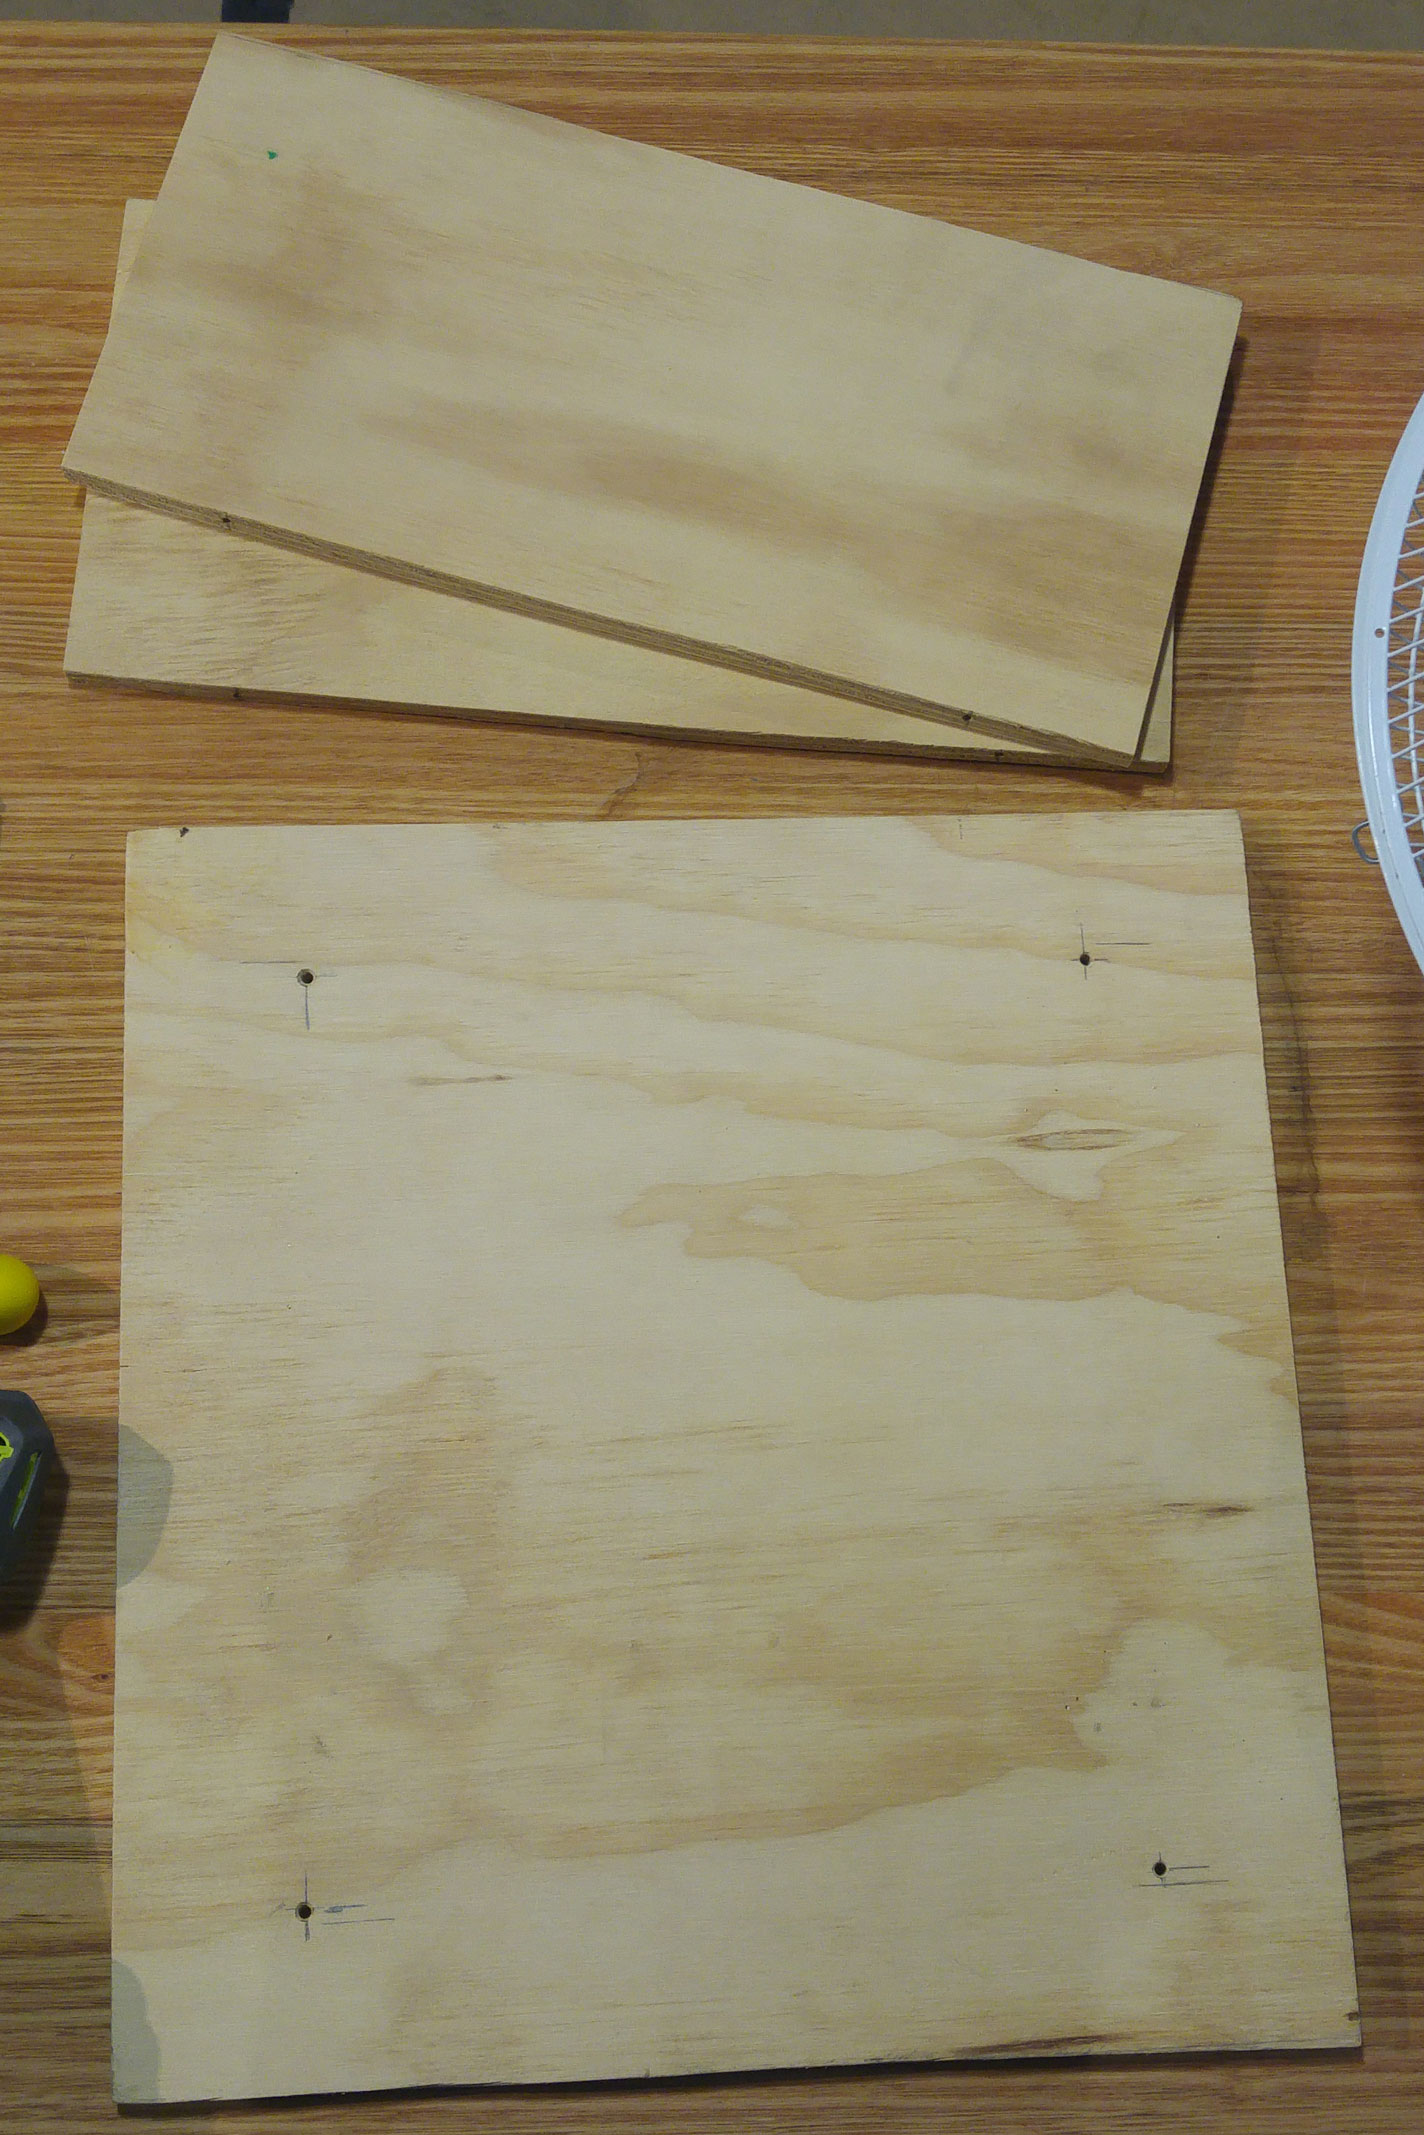
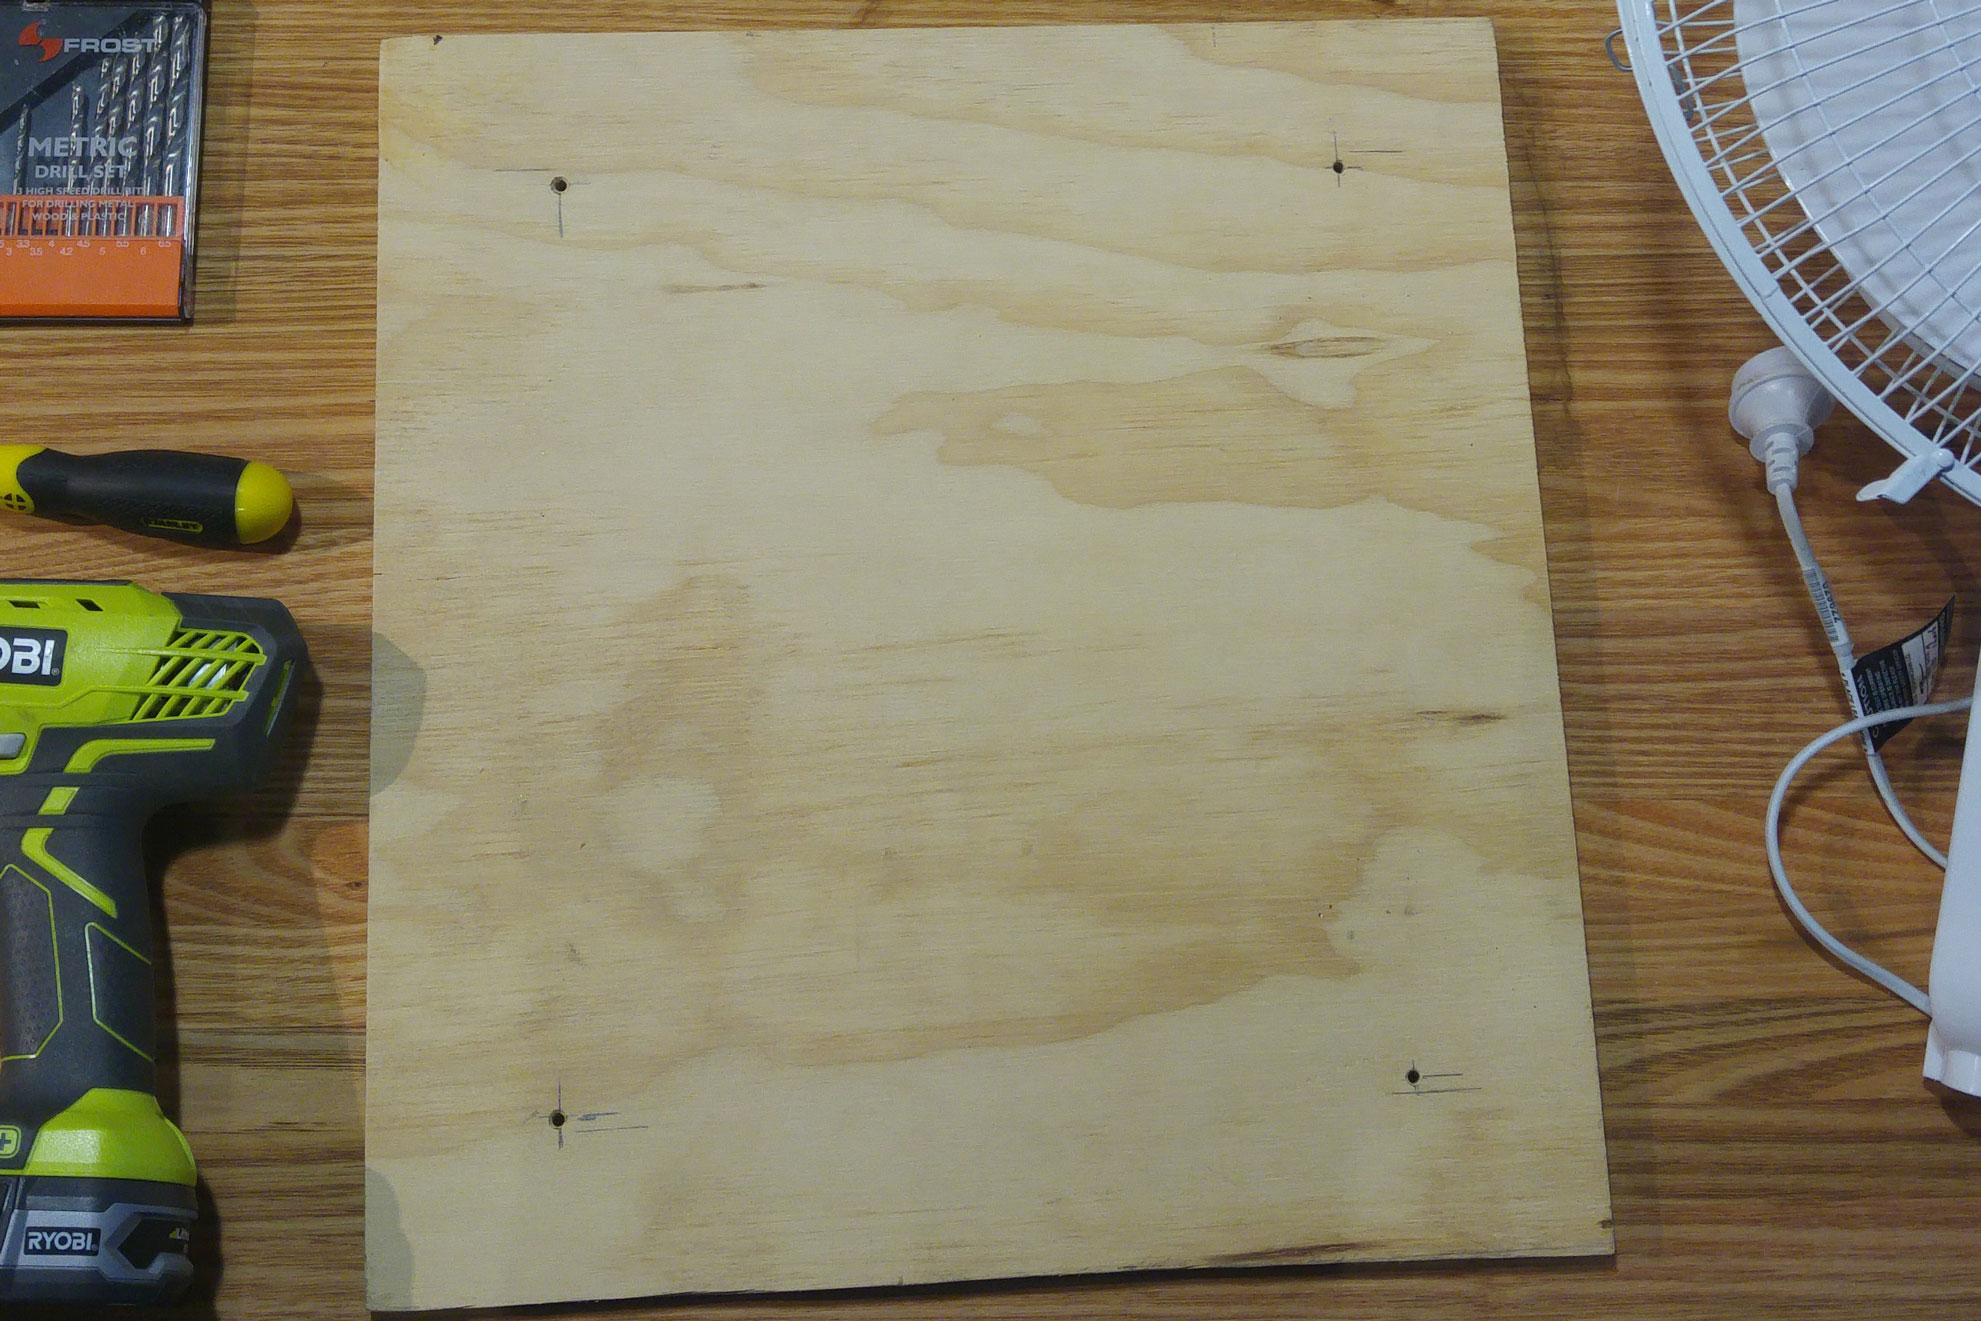
- On the large wooden plank, measure and mark 4 points 50mm in from the edges.
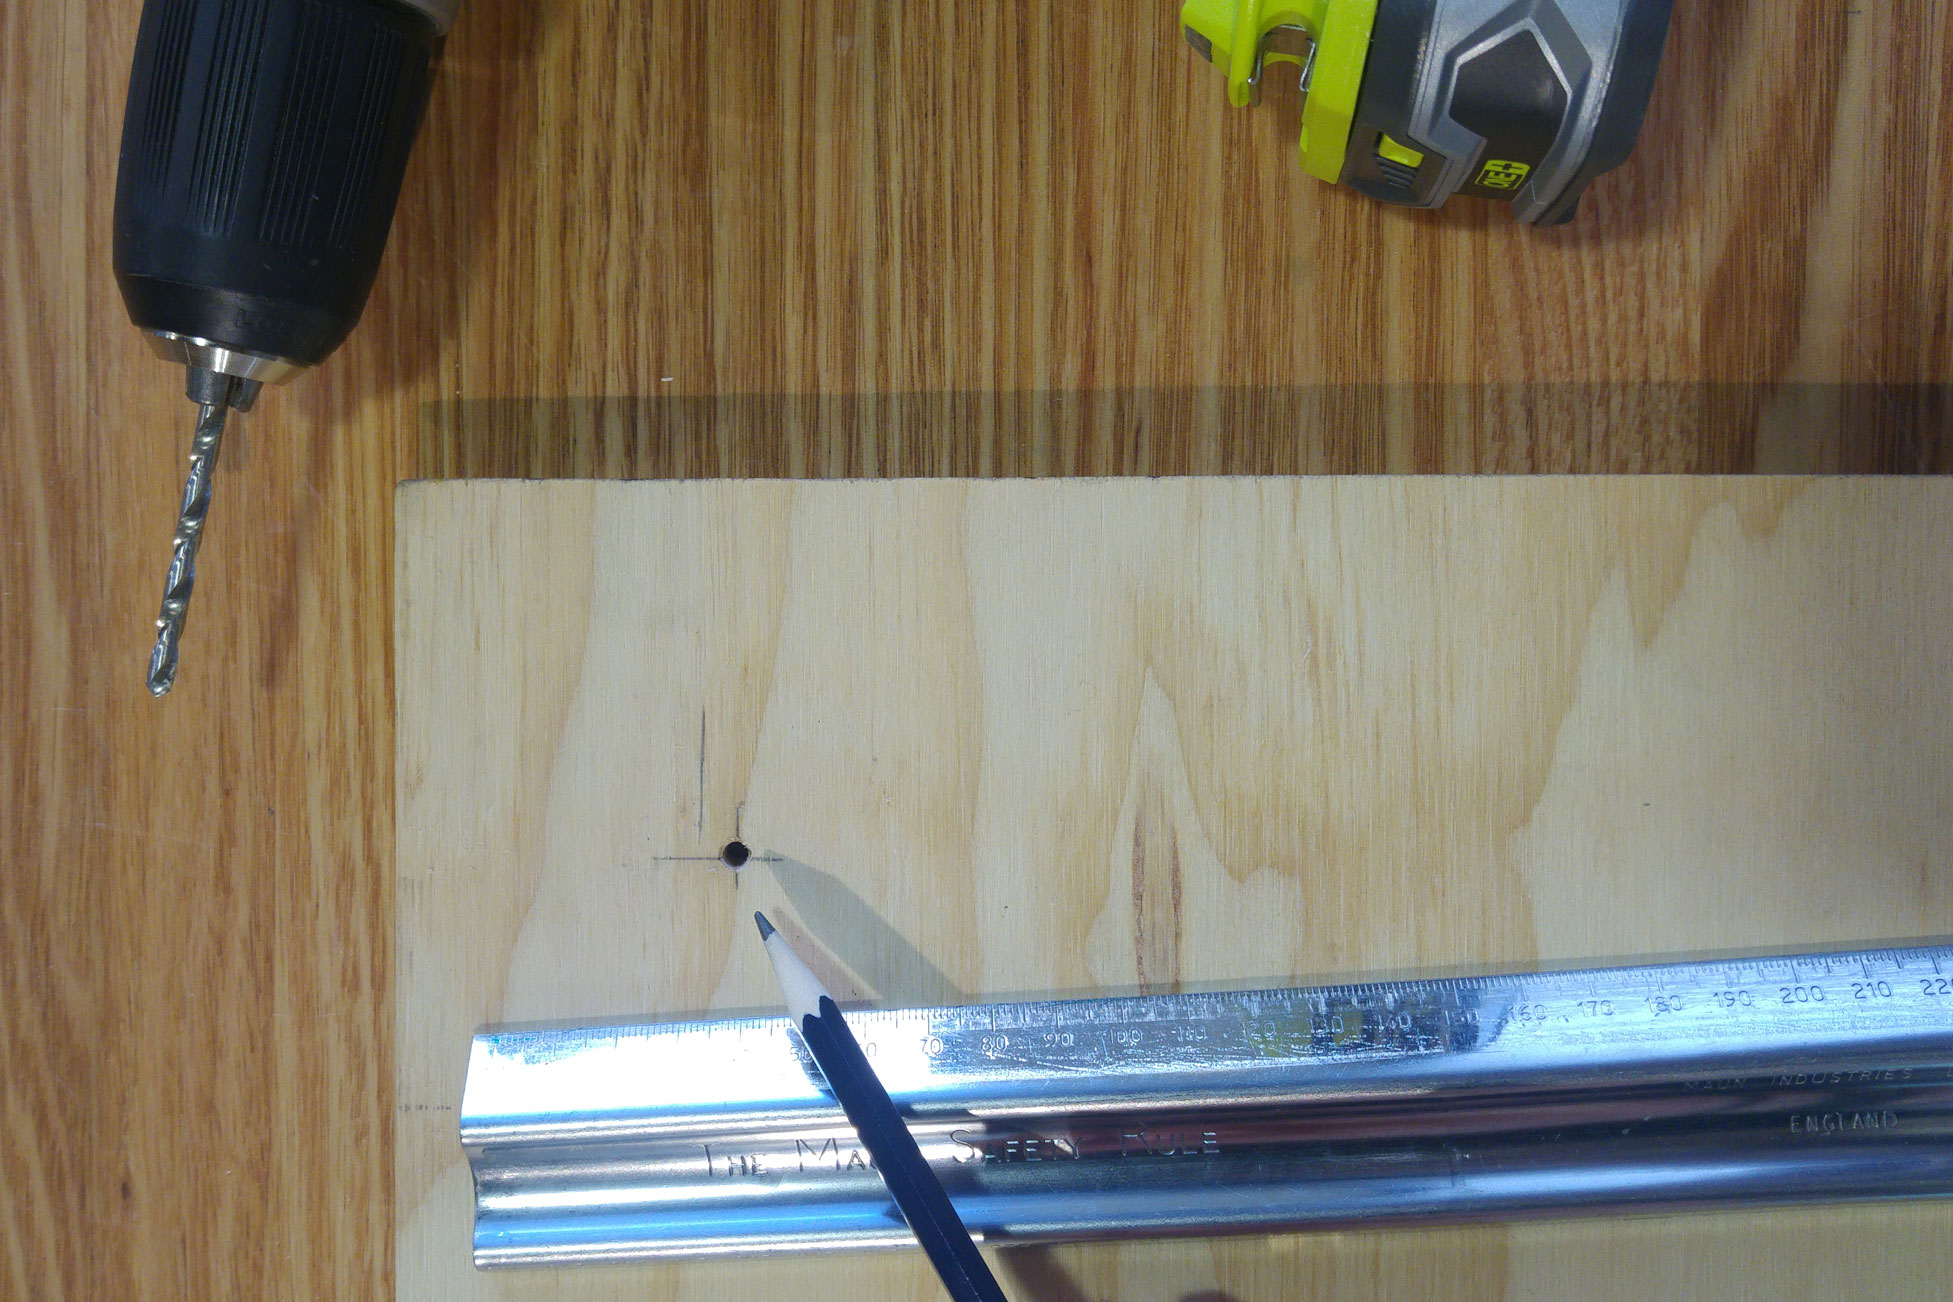
- Clamp large board onto a surface suitable for drilling.
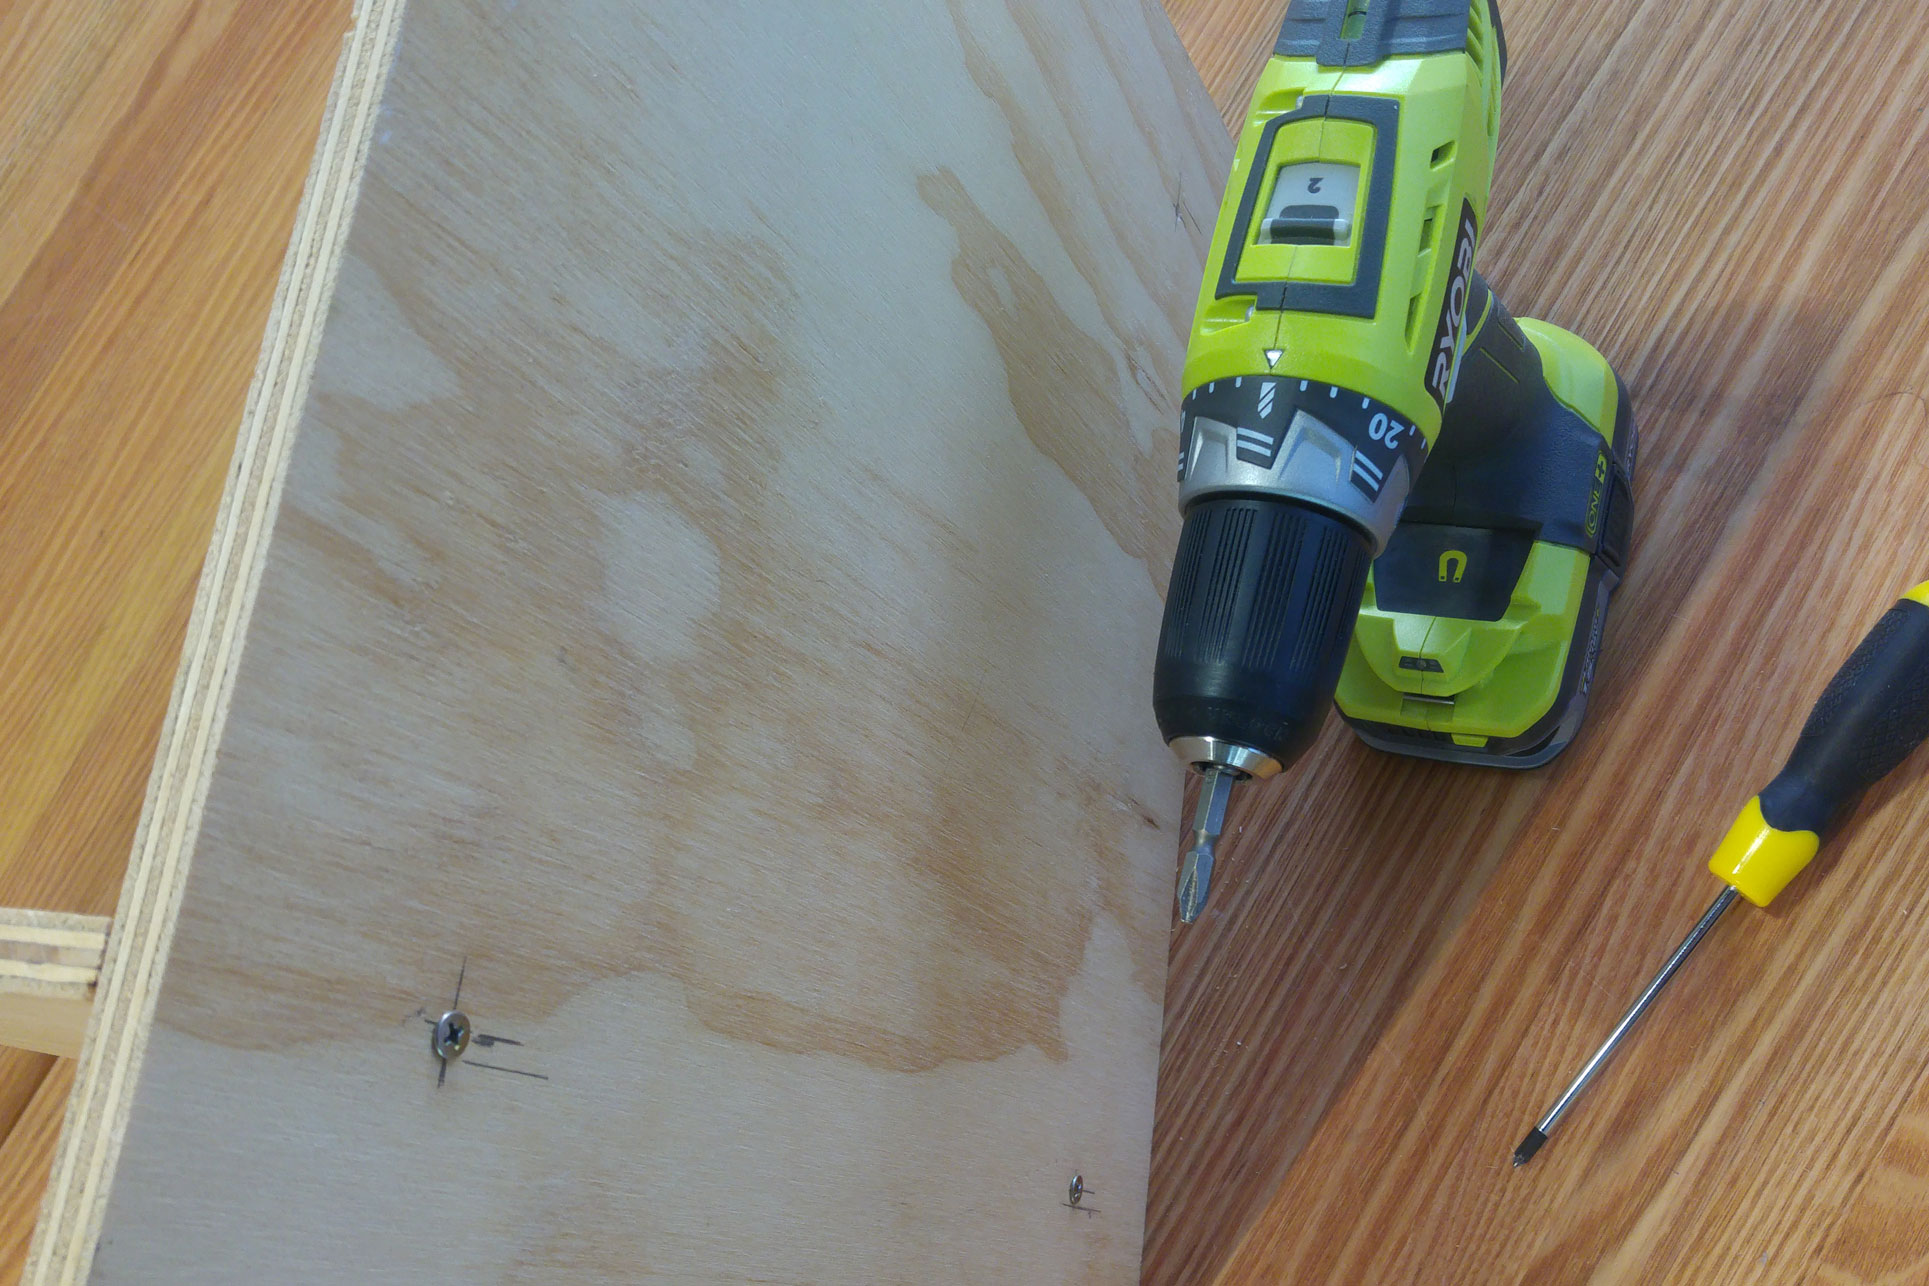
- Drill holes all the way through the wood at your marked points. Use a drill bit that is slightly smaller in diameter than the screws you’ve got. We used a 4.0mm bit, for 4.5mm screws.
- Line up one 500mm edge of one small plank with two of the marks on the large plank. On the thin edge of the small plank, make corresponding marks. Repeat with the second small plank. Each small plank should have two marks on one 500mm edge that line up with your large plank.
- Using the same sized bit, drill into the small planks at least 20mm (this will depend on the length of your screws!) We drilled in 20mm for 30mm screws.
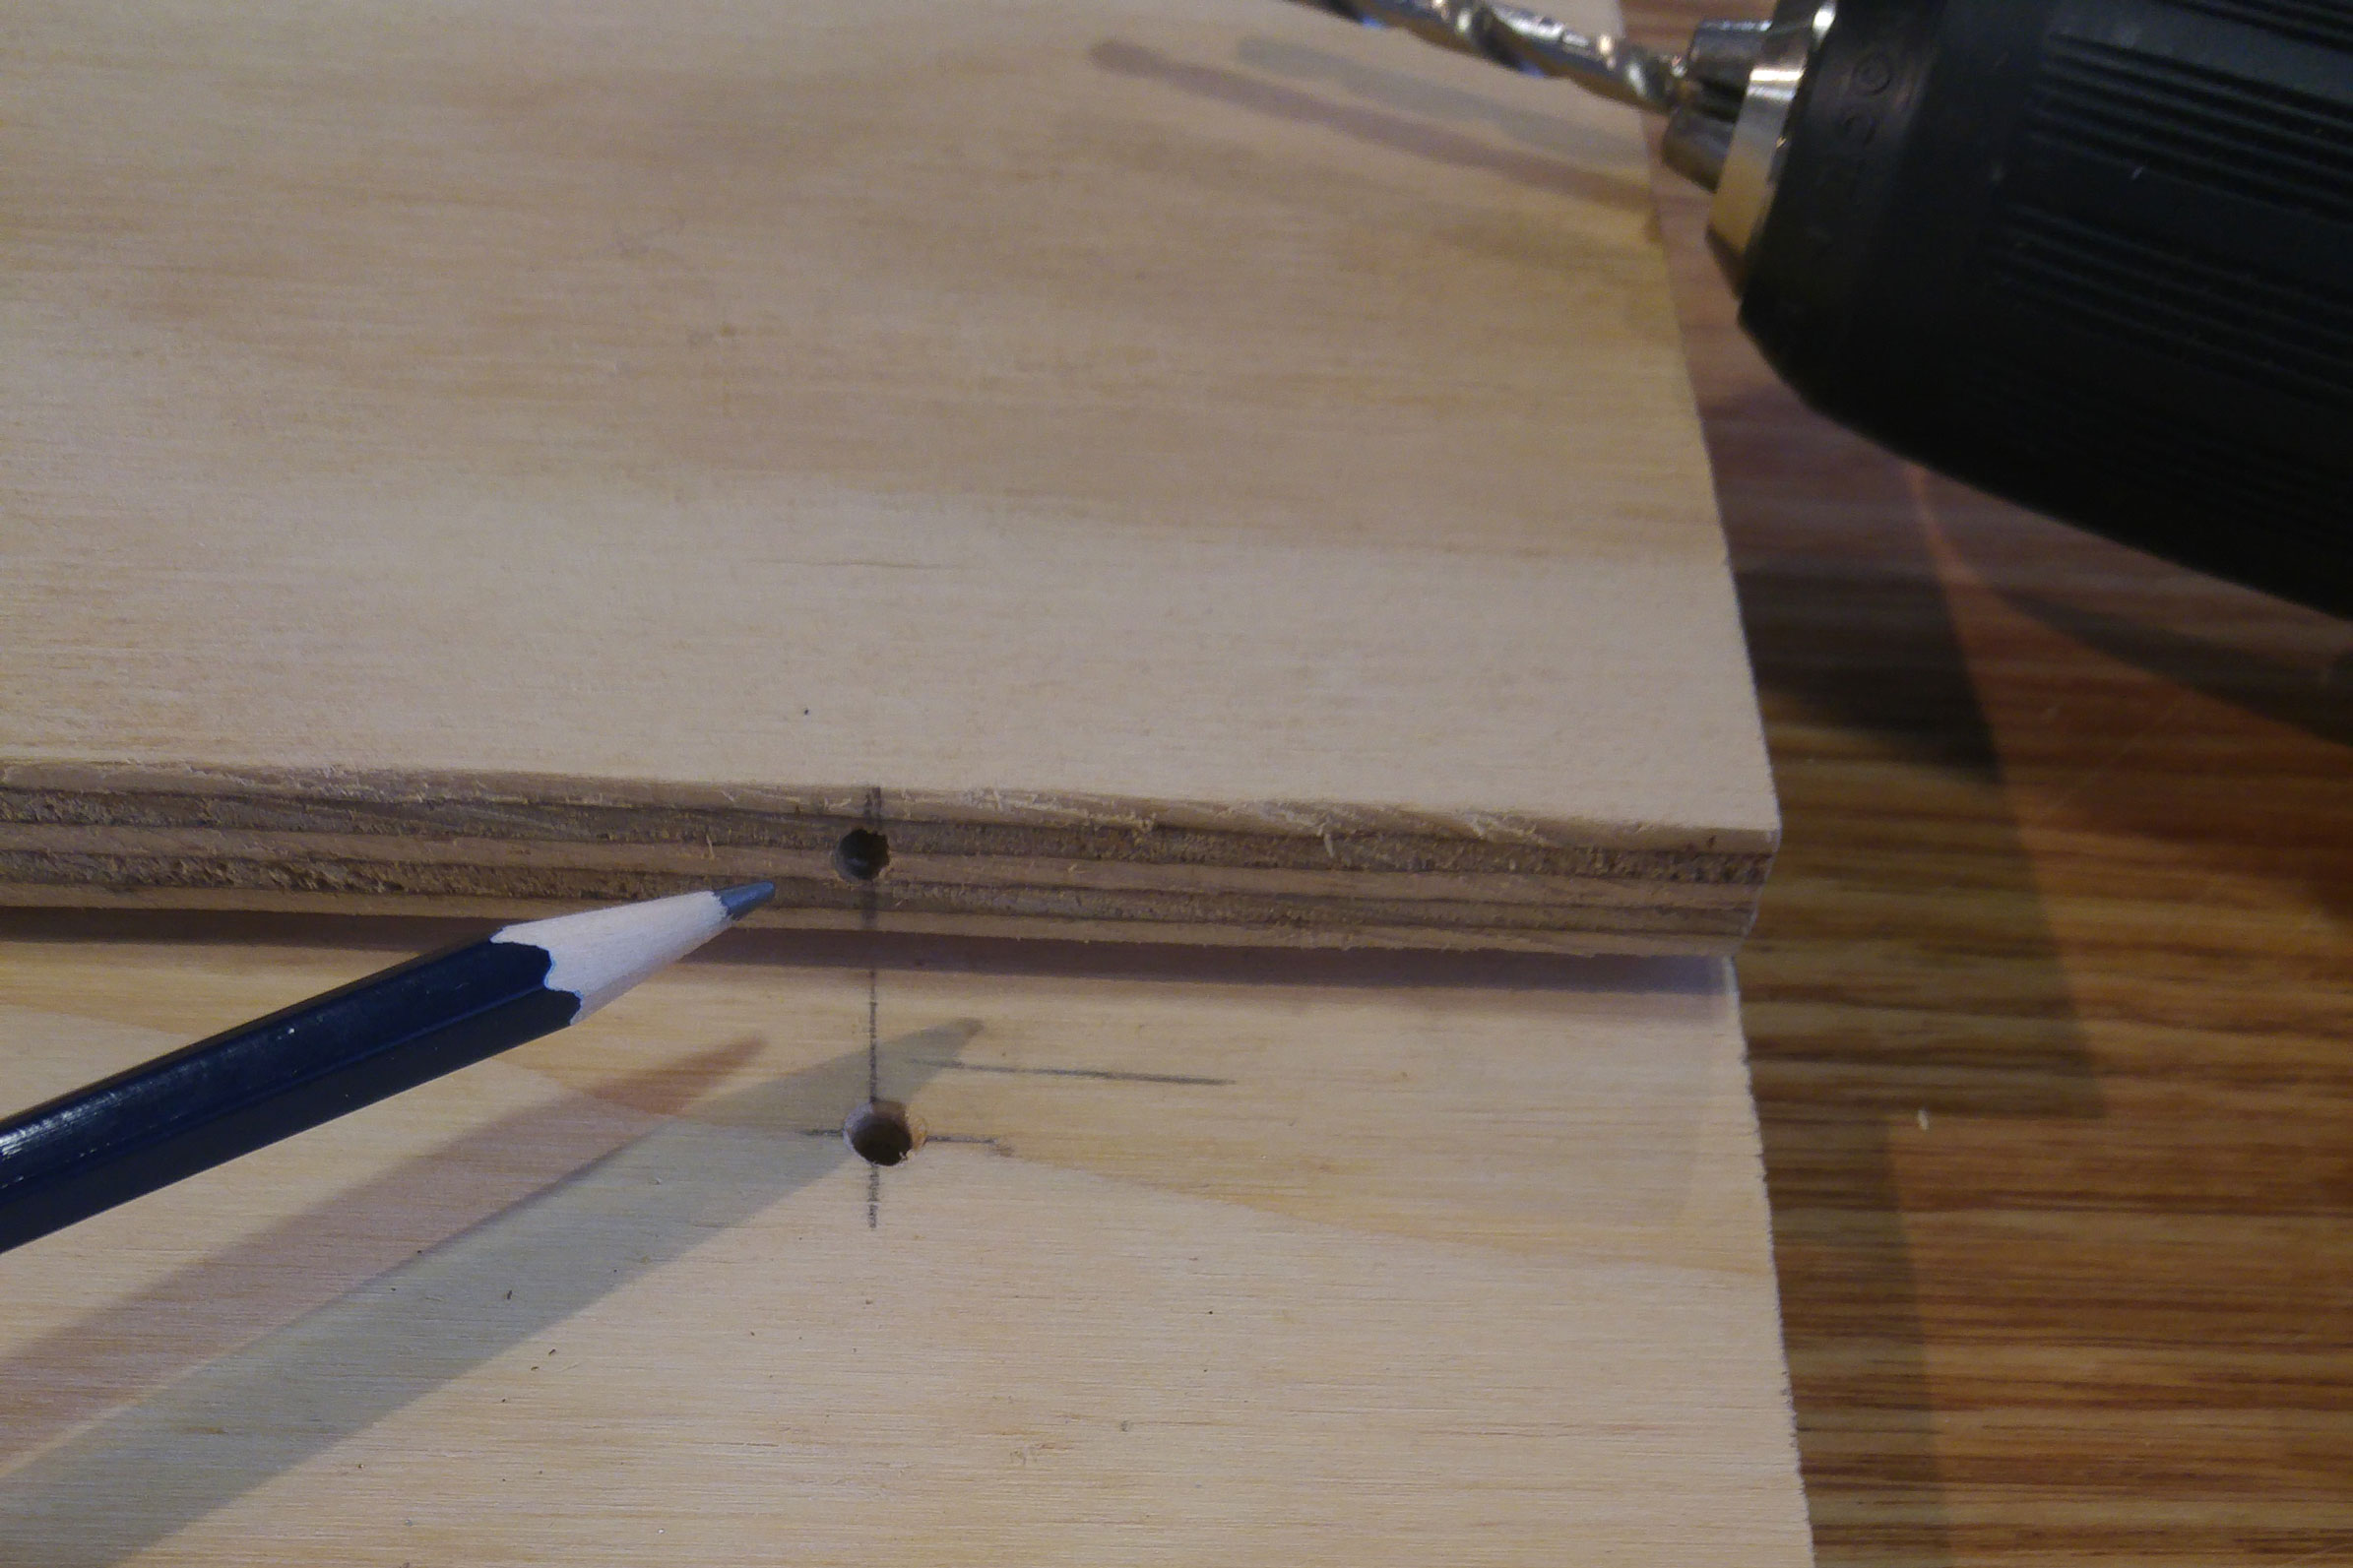
- Fix the small planks perpendicular to the large planks using four screws.
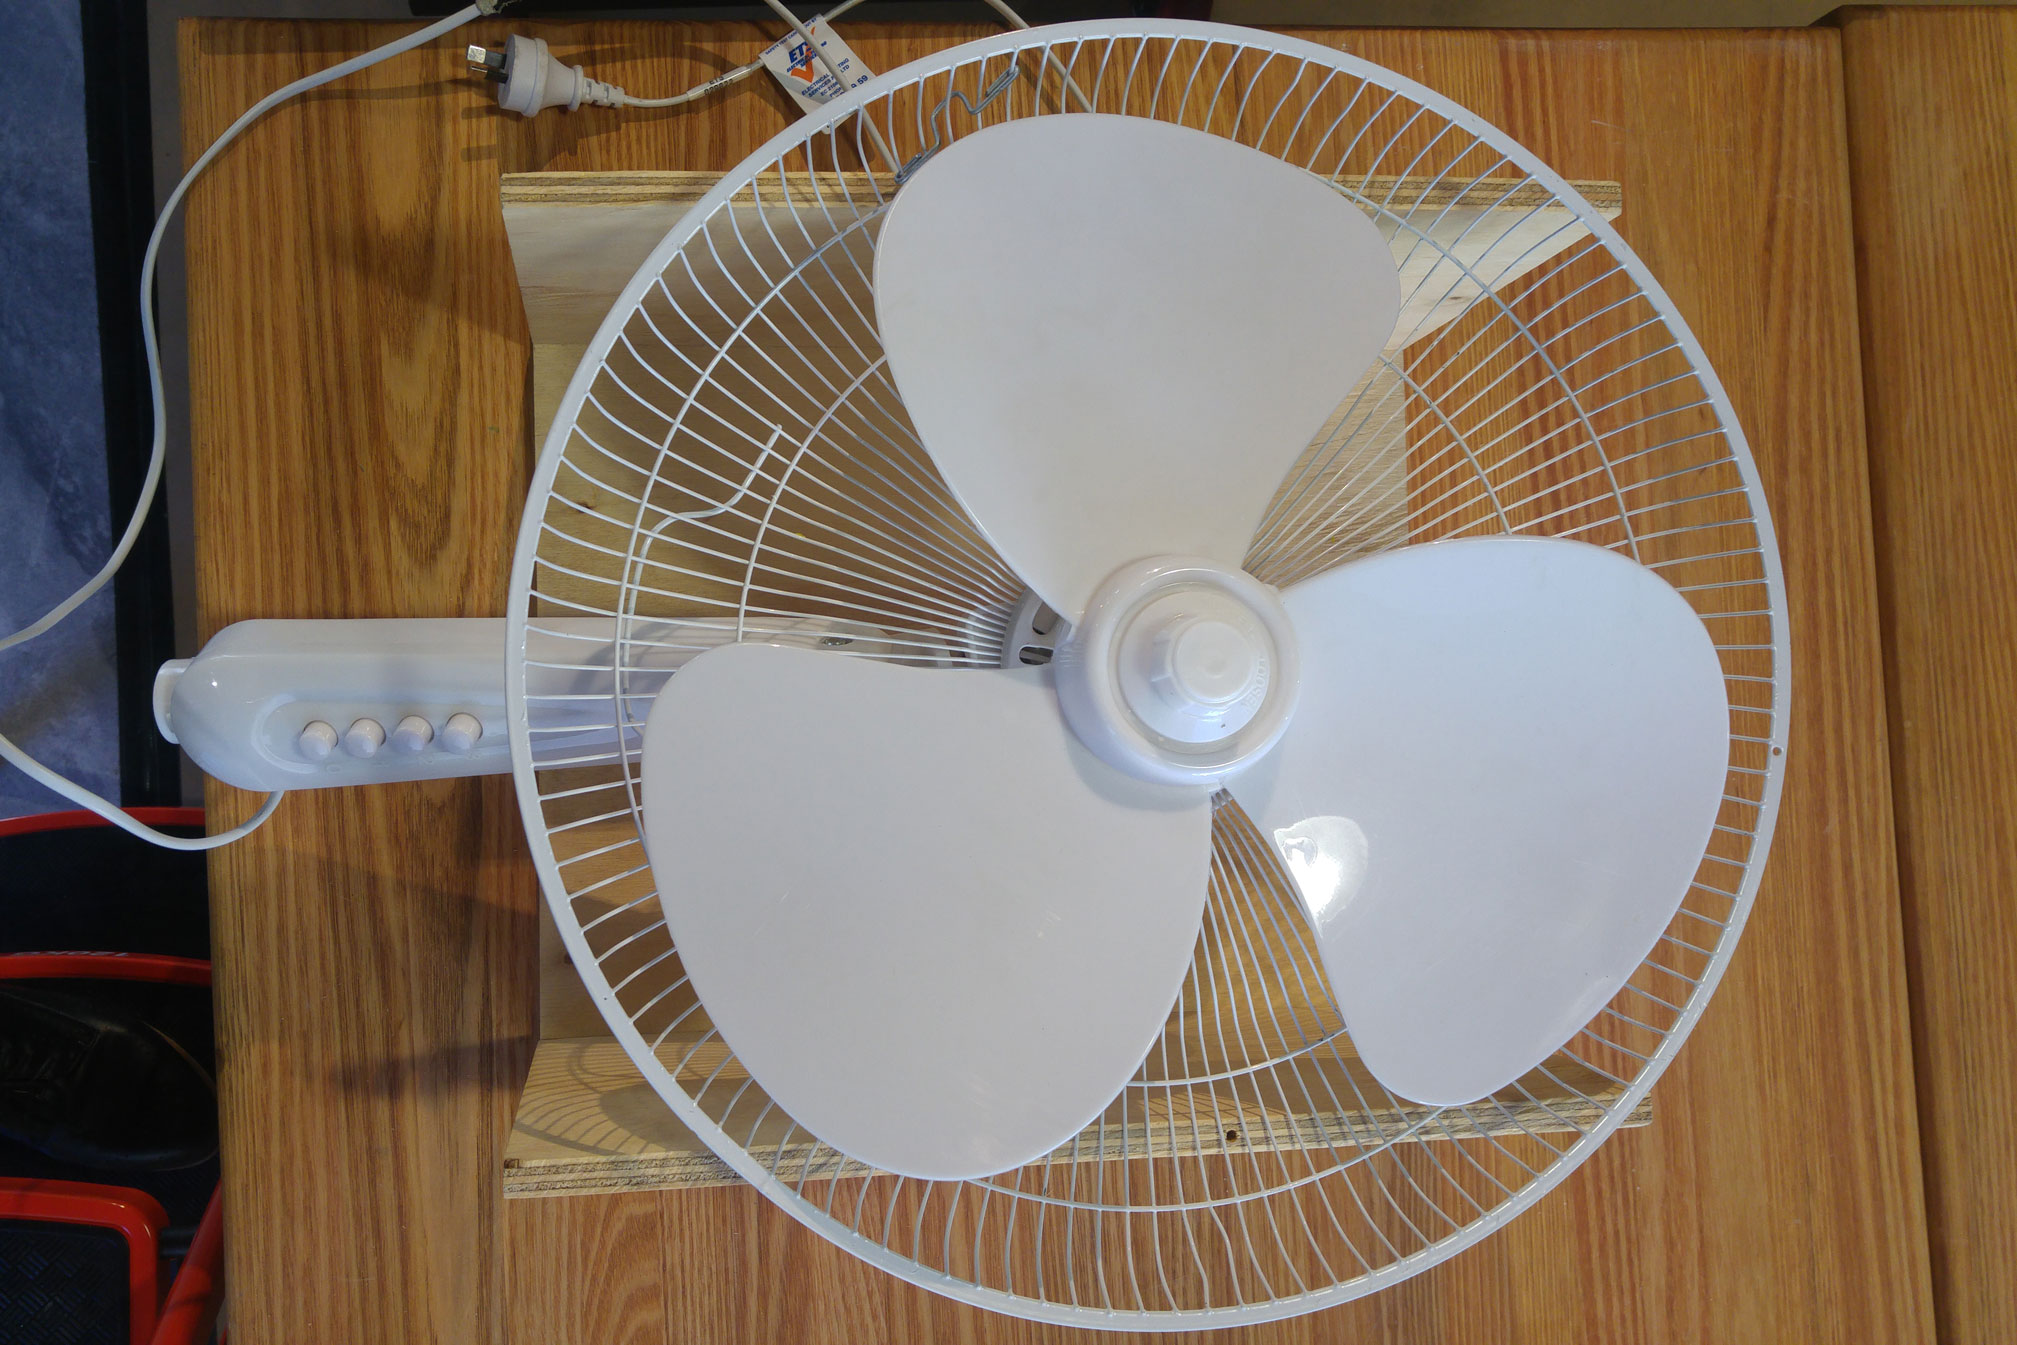
- Place the fan head on top of the stand, and remove the front cover.
Pro Tip: make sure the fan is set to NOT rotate at this point.
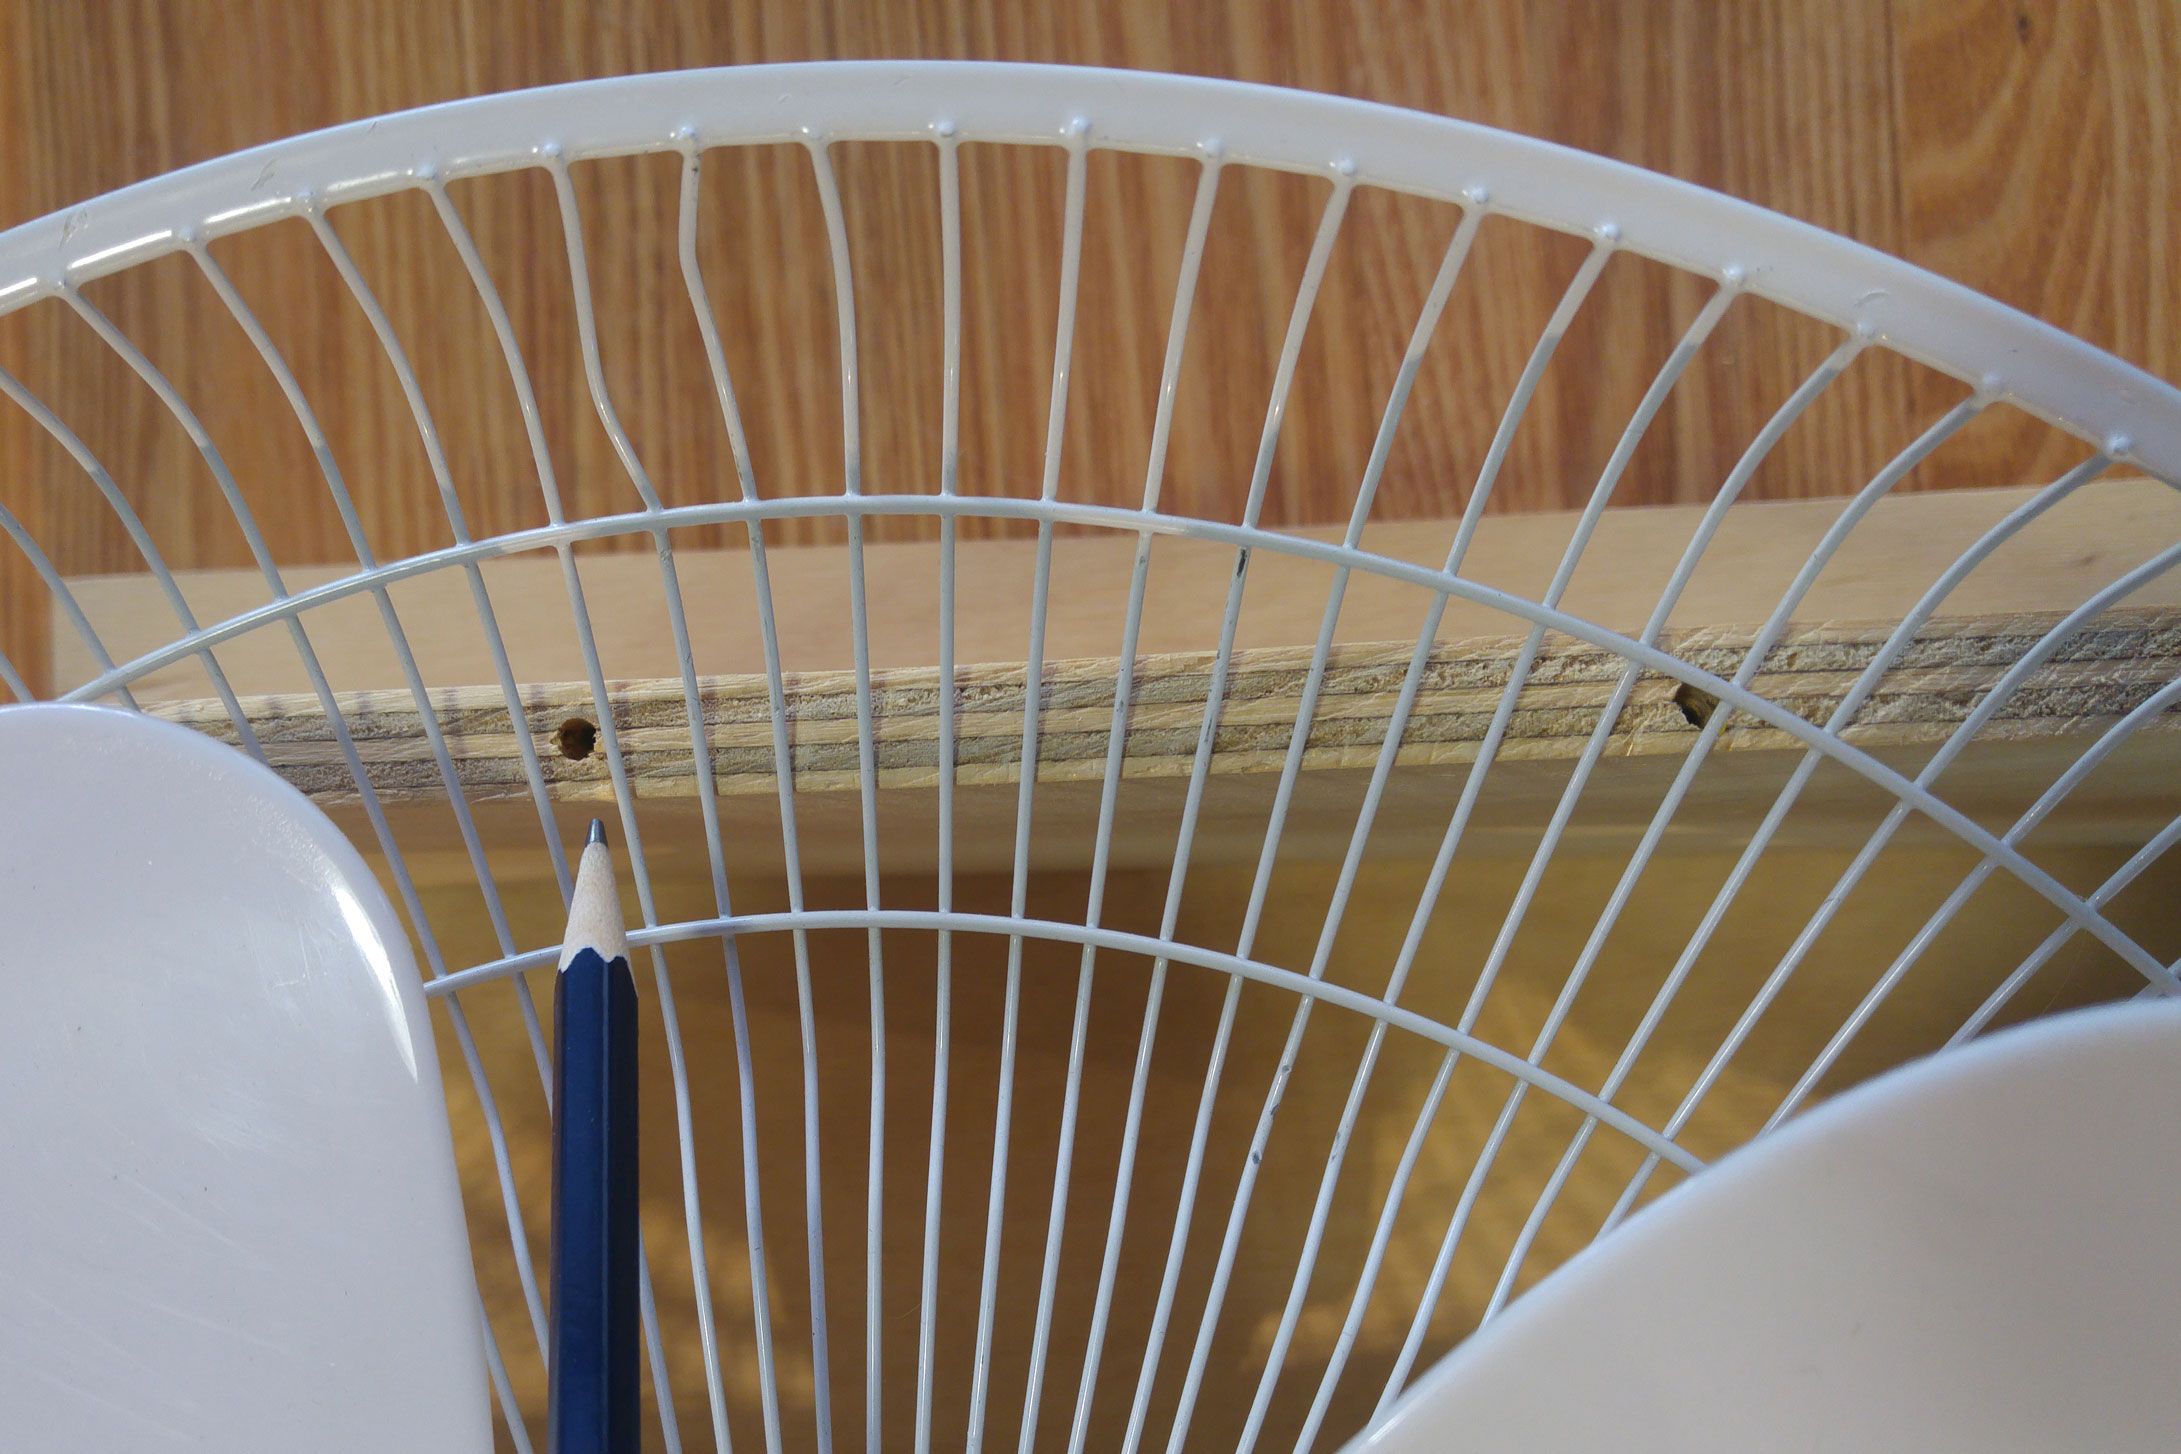
- Mark two points on one side of the stand that provide a gap through the back cover of the fan to the stand.
- Keeping these marks aligned, repeat on the other side of the stand.
- At these points, drill holes 20mm deep into the stand (4 total).
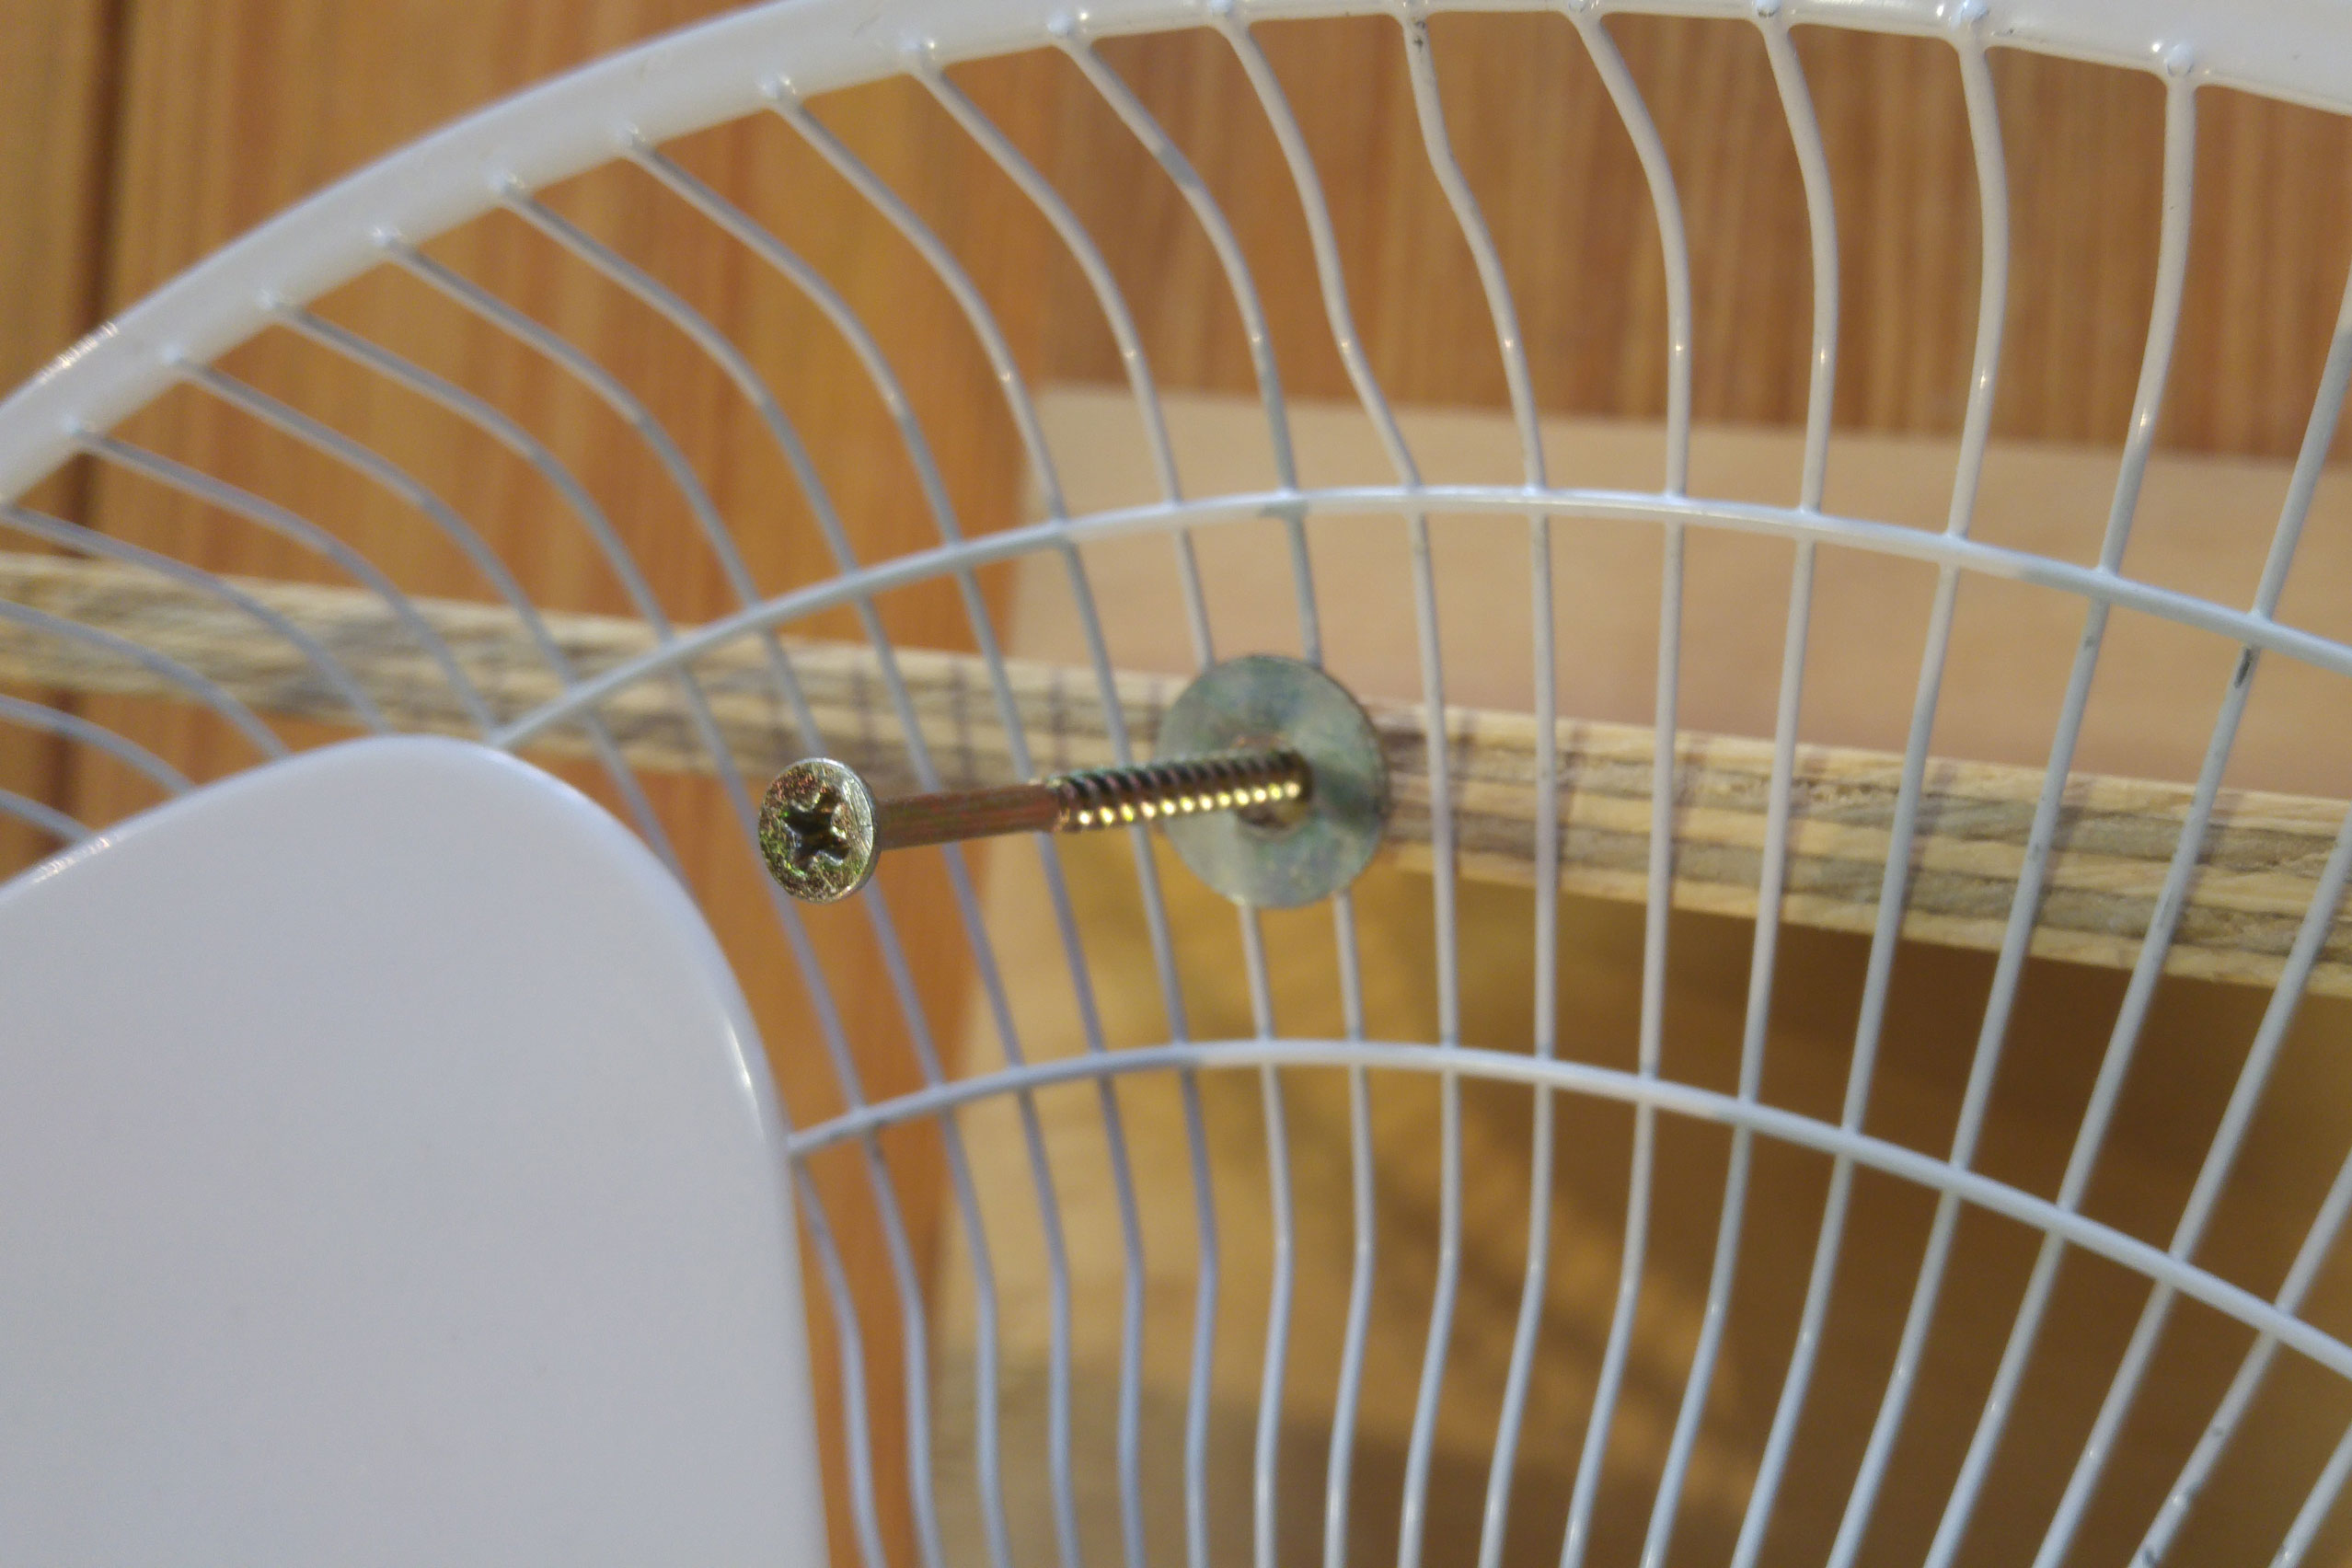
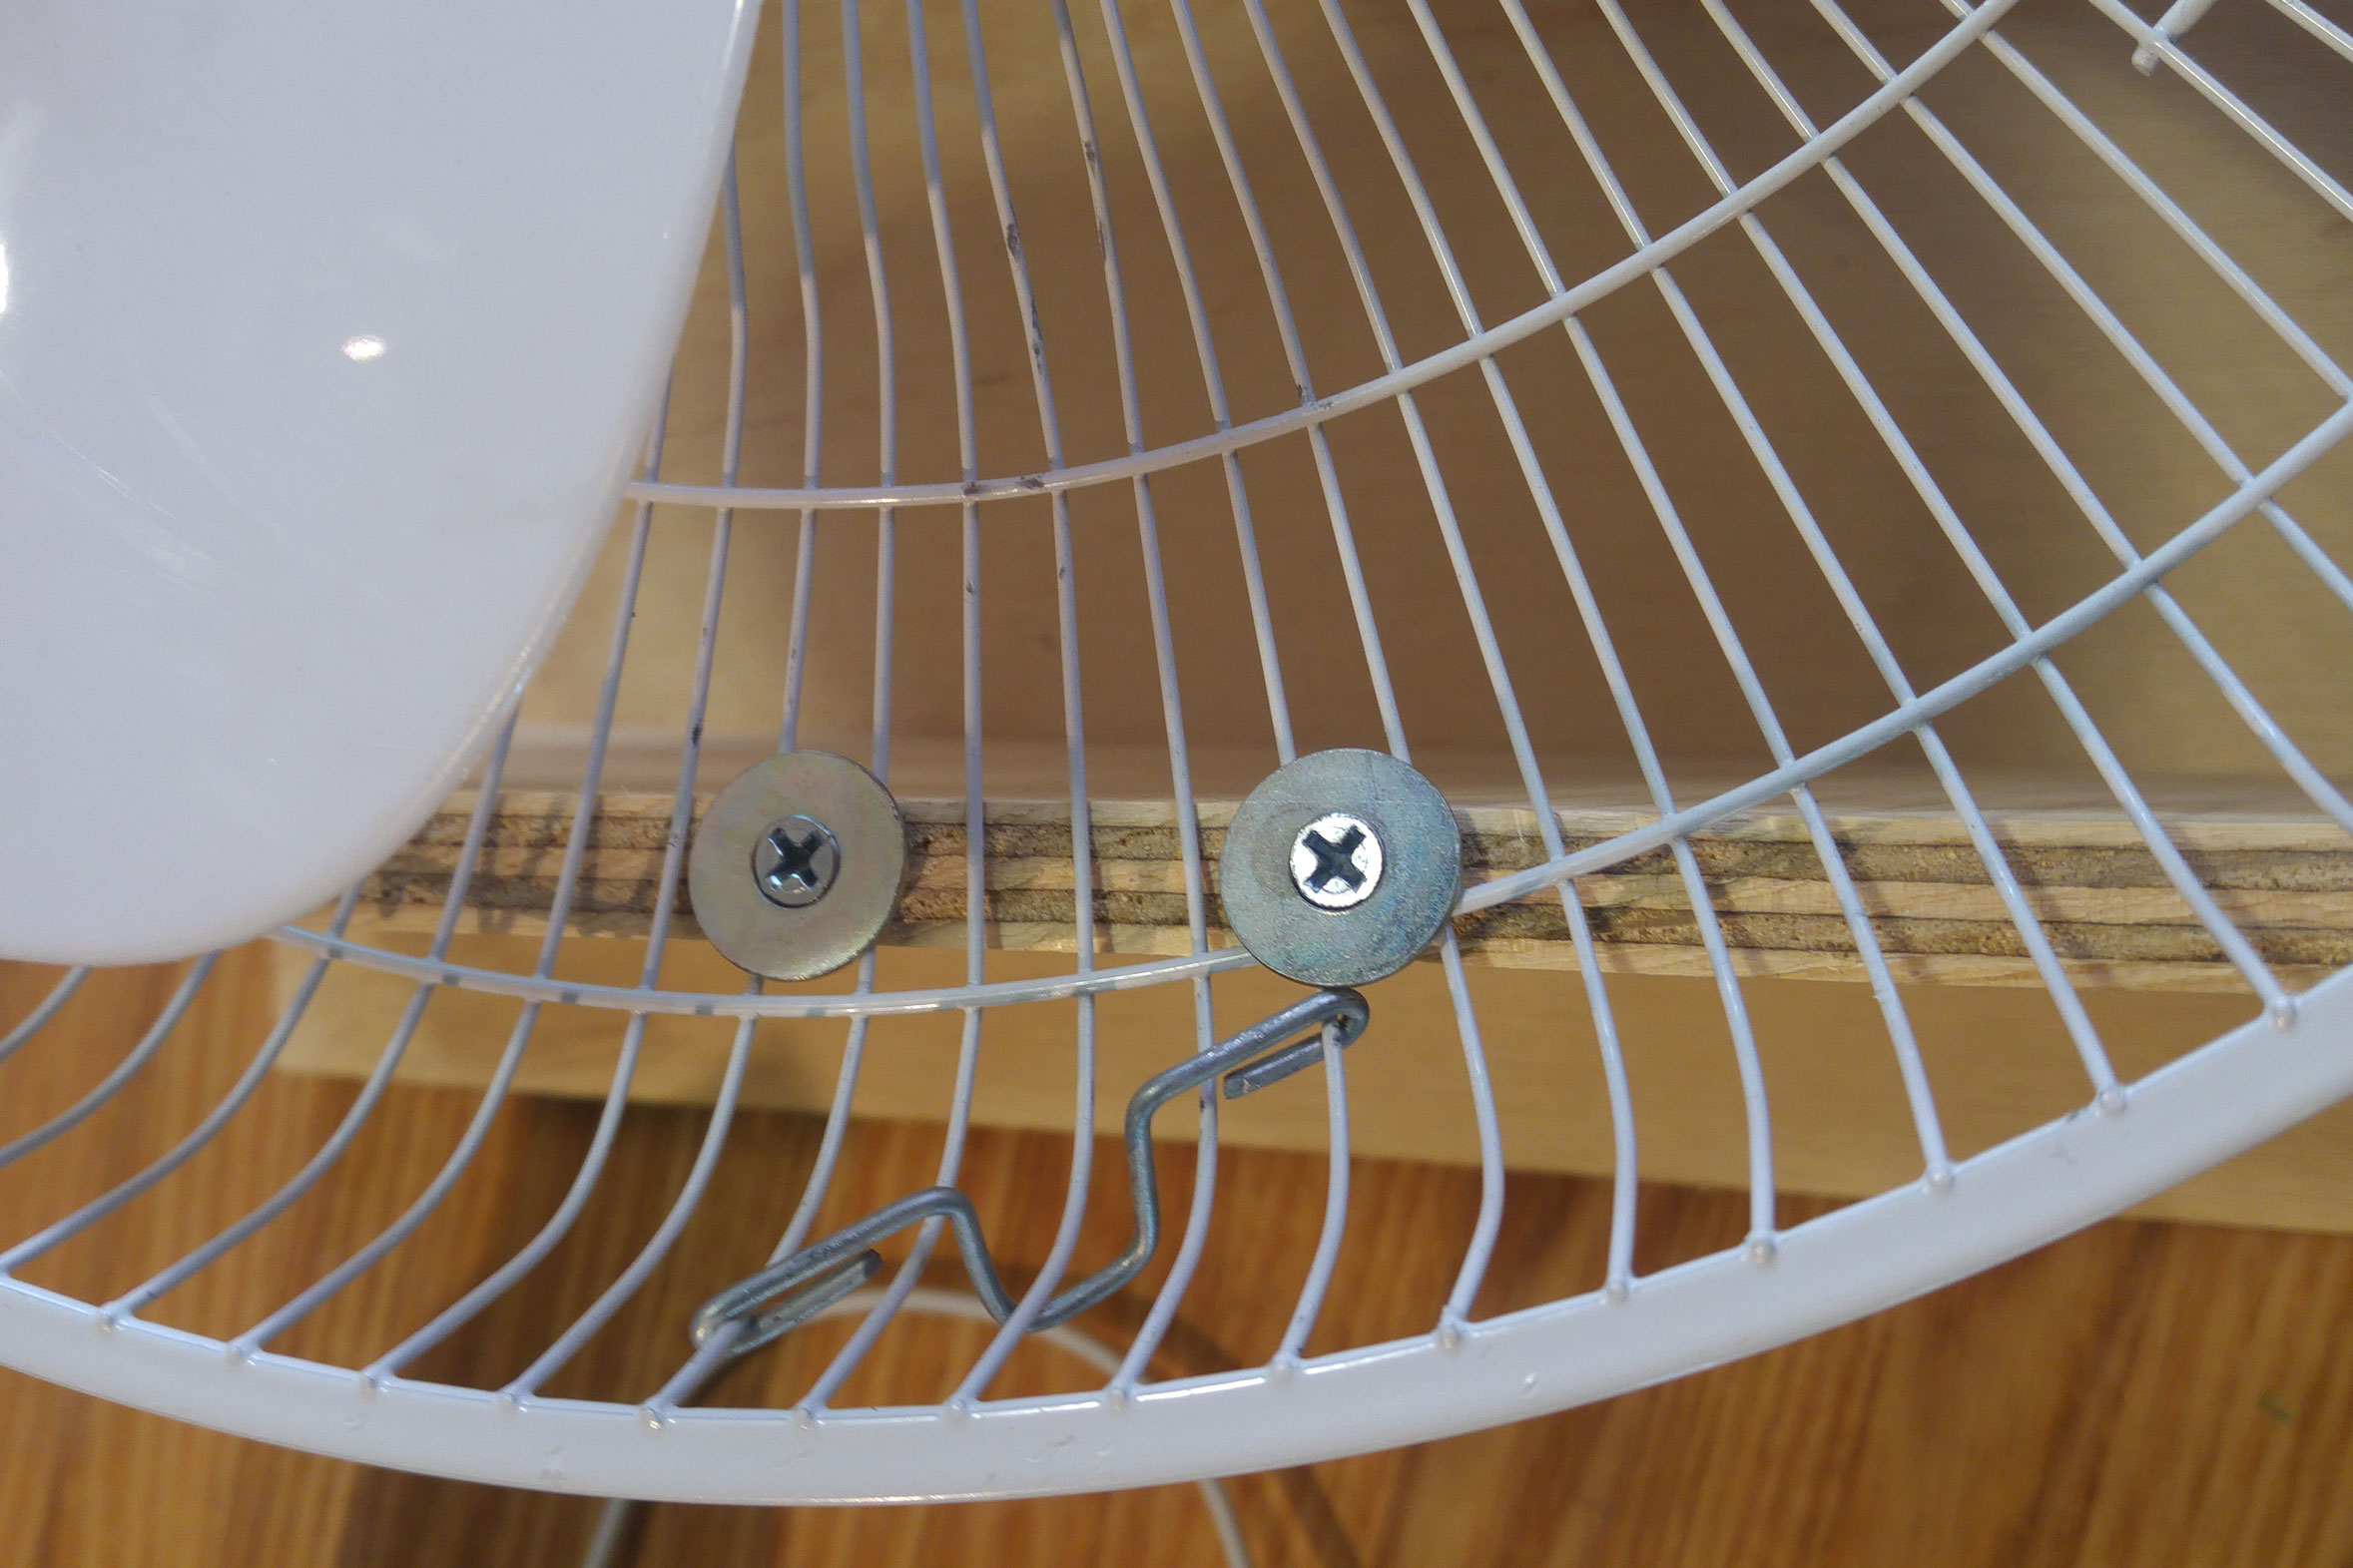
- With a washer between the screw and the fan frame, fix the fan to the stand.
- To maintain alignment, place the screws in all four holes before tightening them.
- Now your fan should be securely attached to the frame.
- Reattach the fan cover.
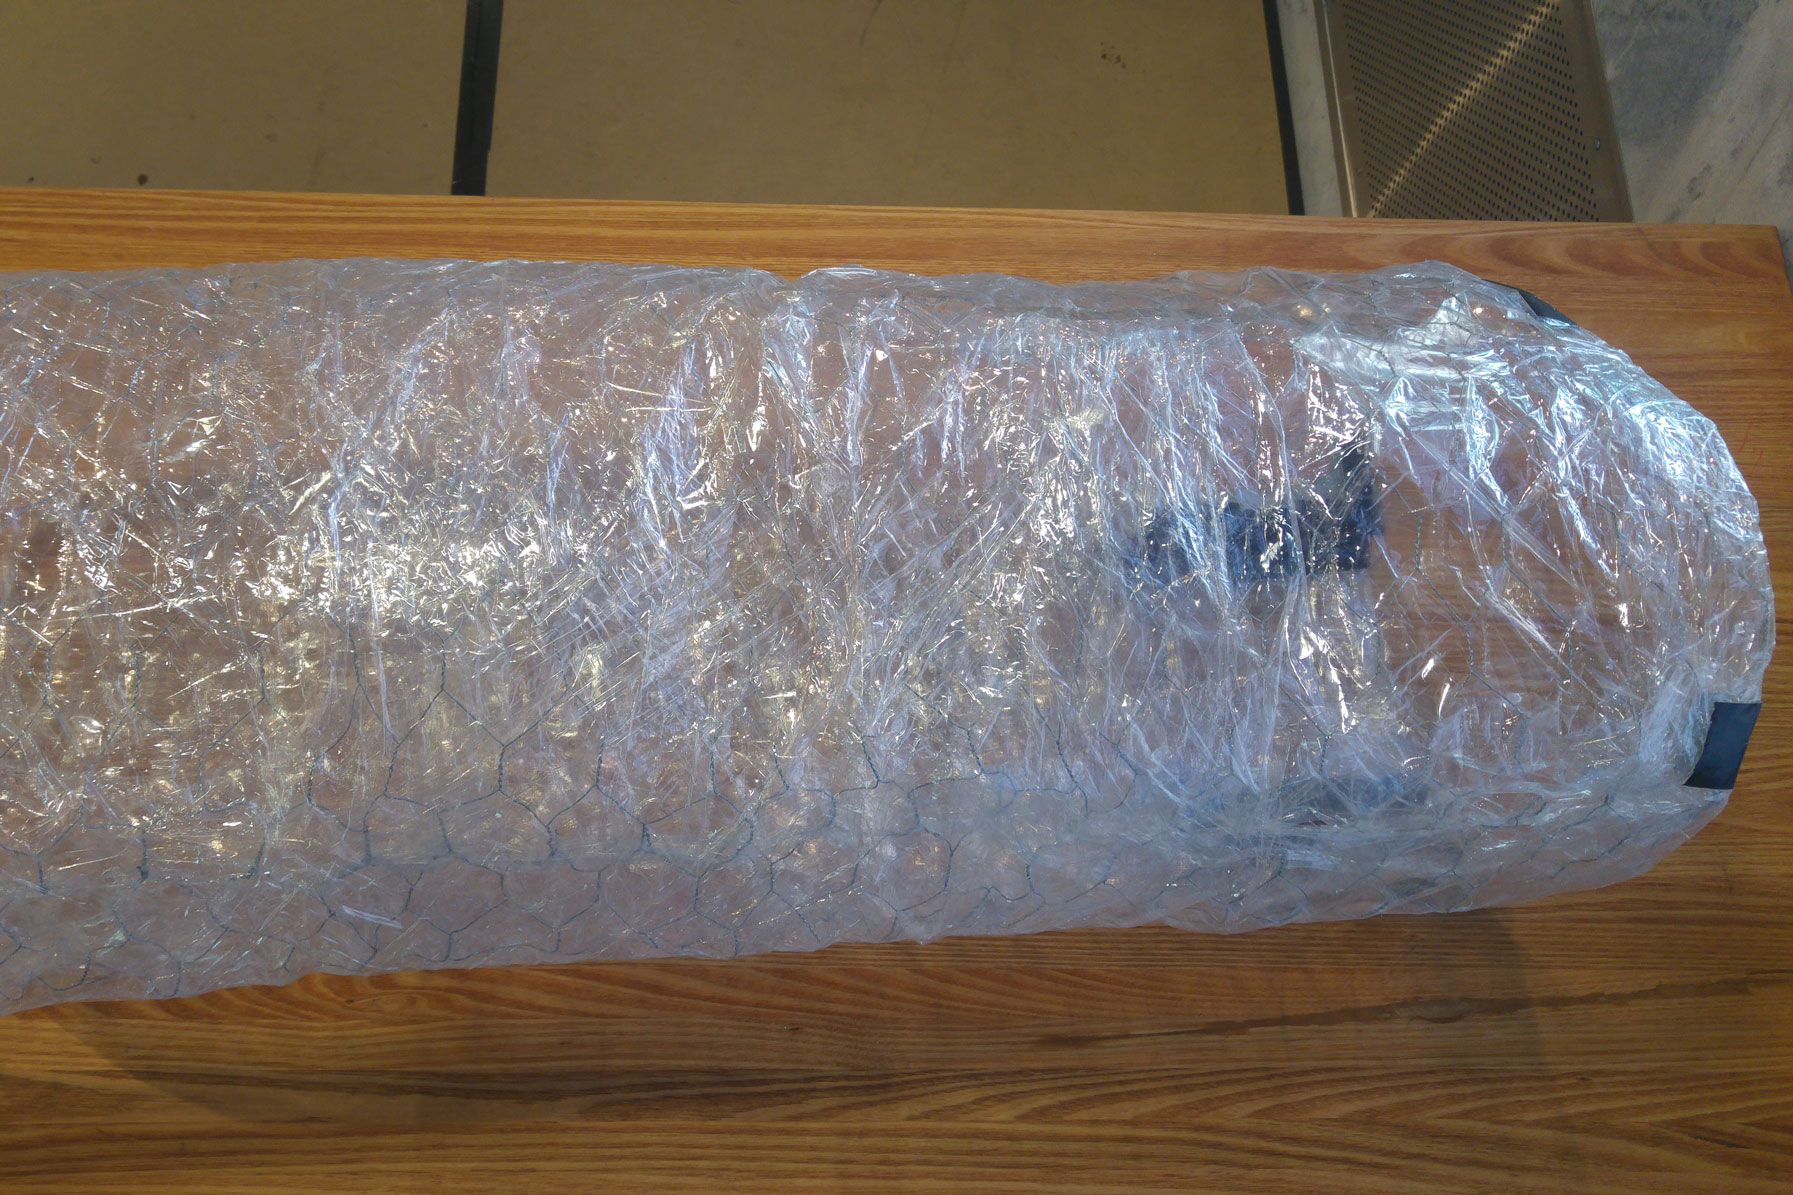
- Cover the trellis wire on both sides using the clear plastic. Use the clear packing tape to fix it together.
- Form a column using the wire, making sure it is the same size as the circumference of the fan.
- Tape the ends together, twist the wire together, or do both.
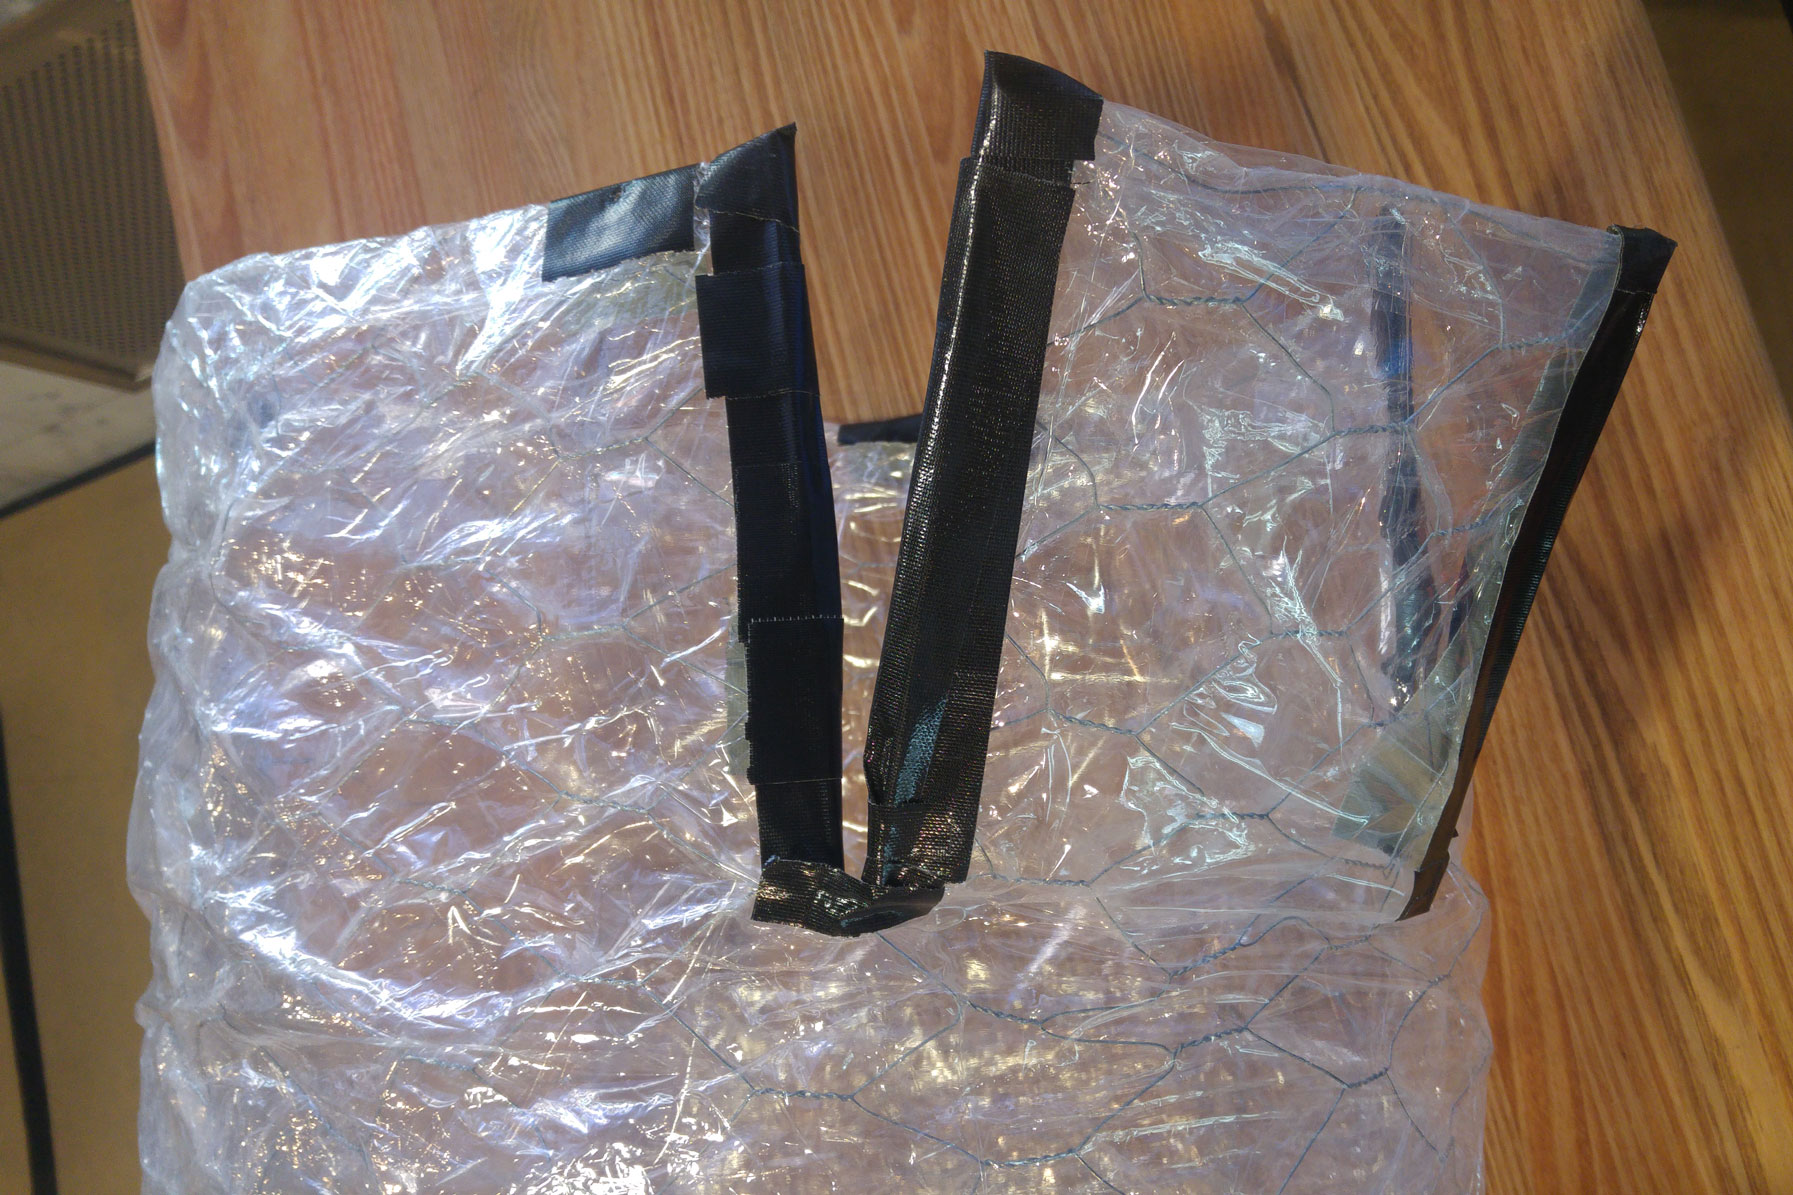
- Using wire cutters, make two 200mm cuts at the base of the tunnel to create a flap.
- Use gaffer tape along the flap to protect the open wire edges.
- Fold another 50mm piece of gaffer tape over the rim about 20mm from the flap. This will become a point to attach the fan to the tunnel.
- Repeat on the other side of the flap, and at two equidistance points on the rim of the tunnel to create 4 attachment points in total.
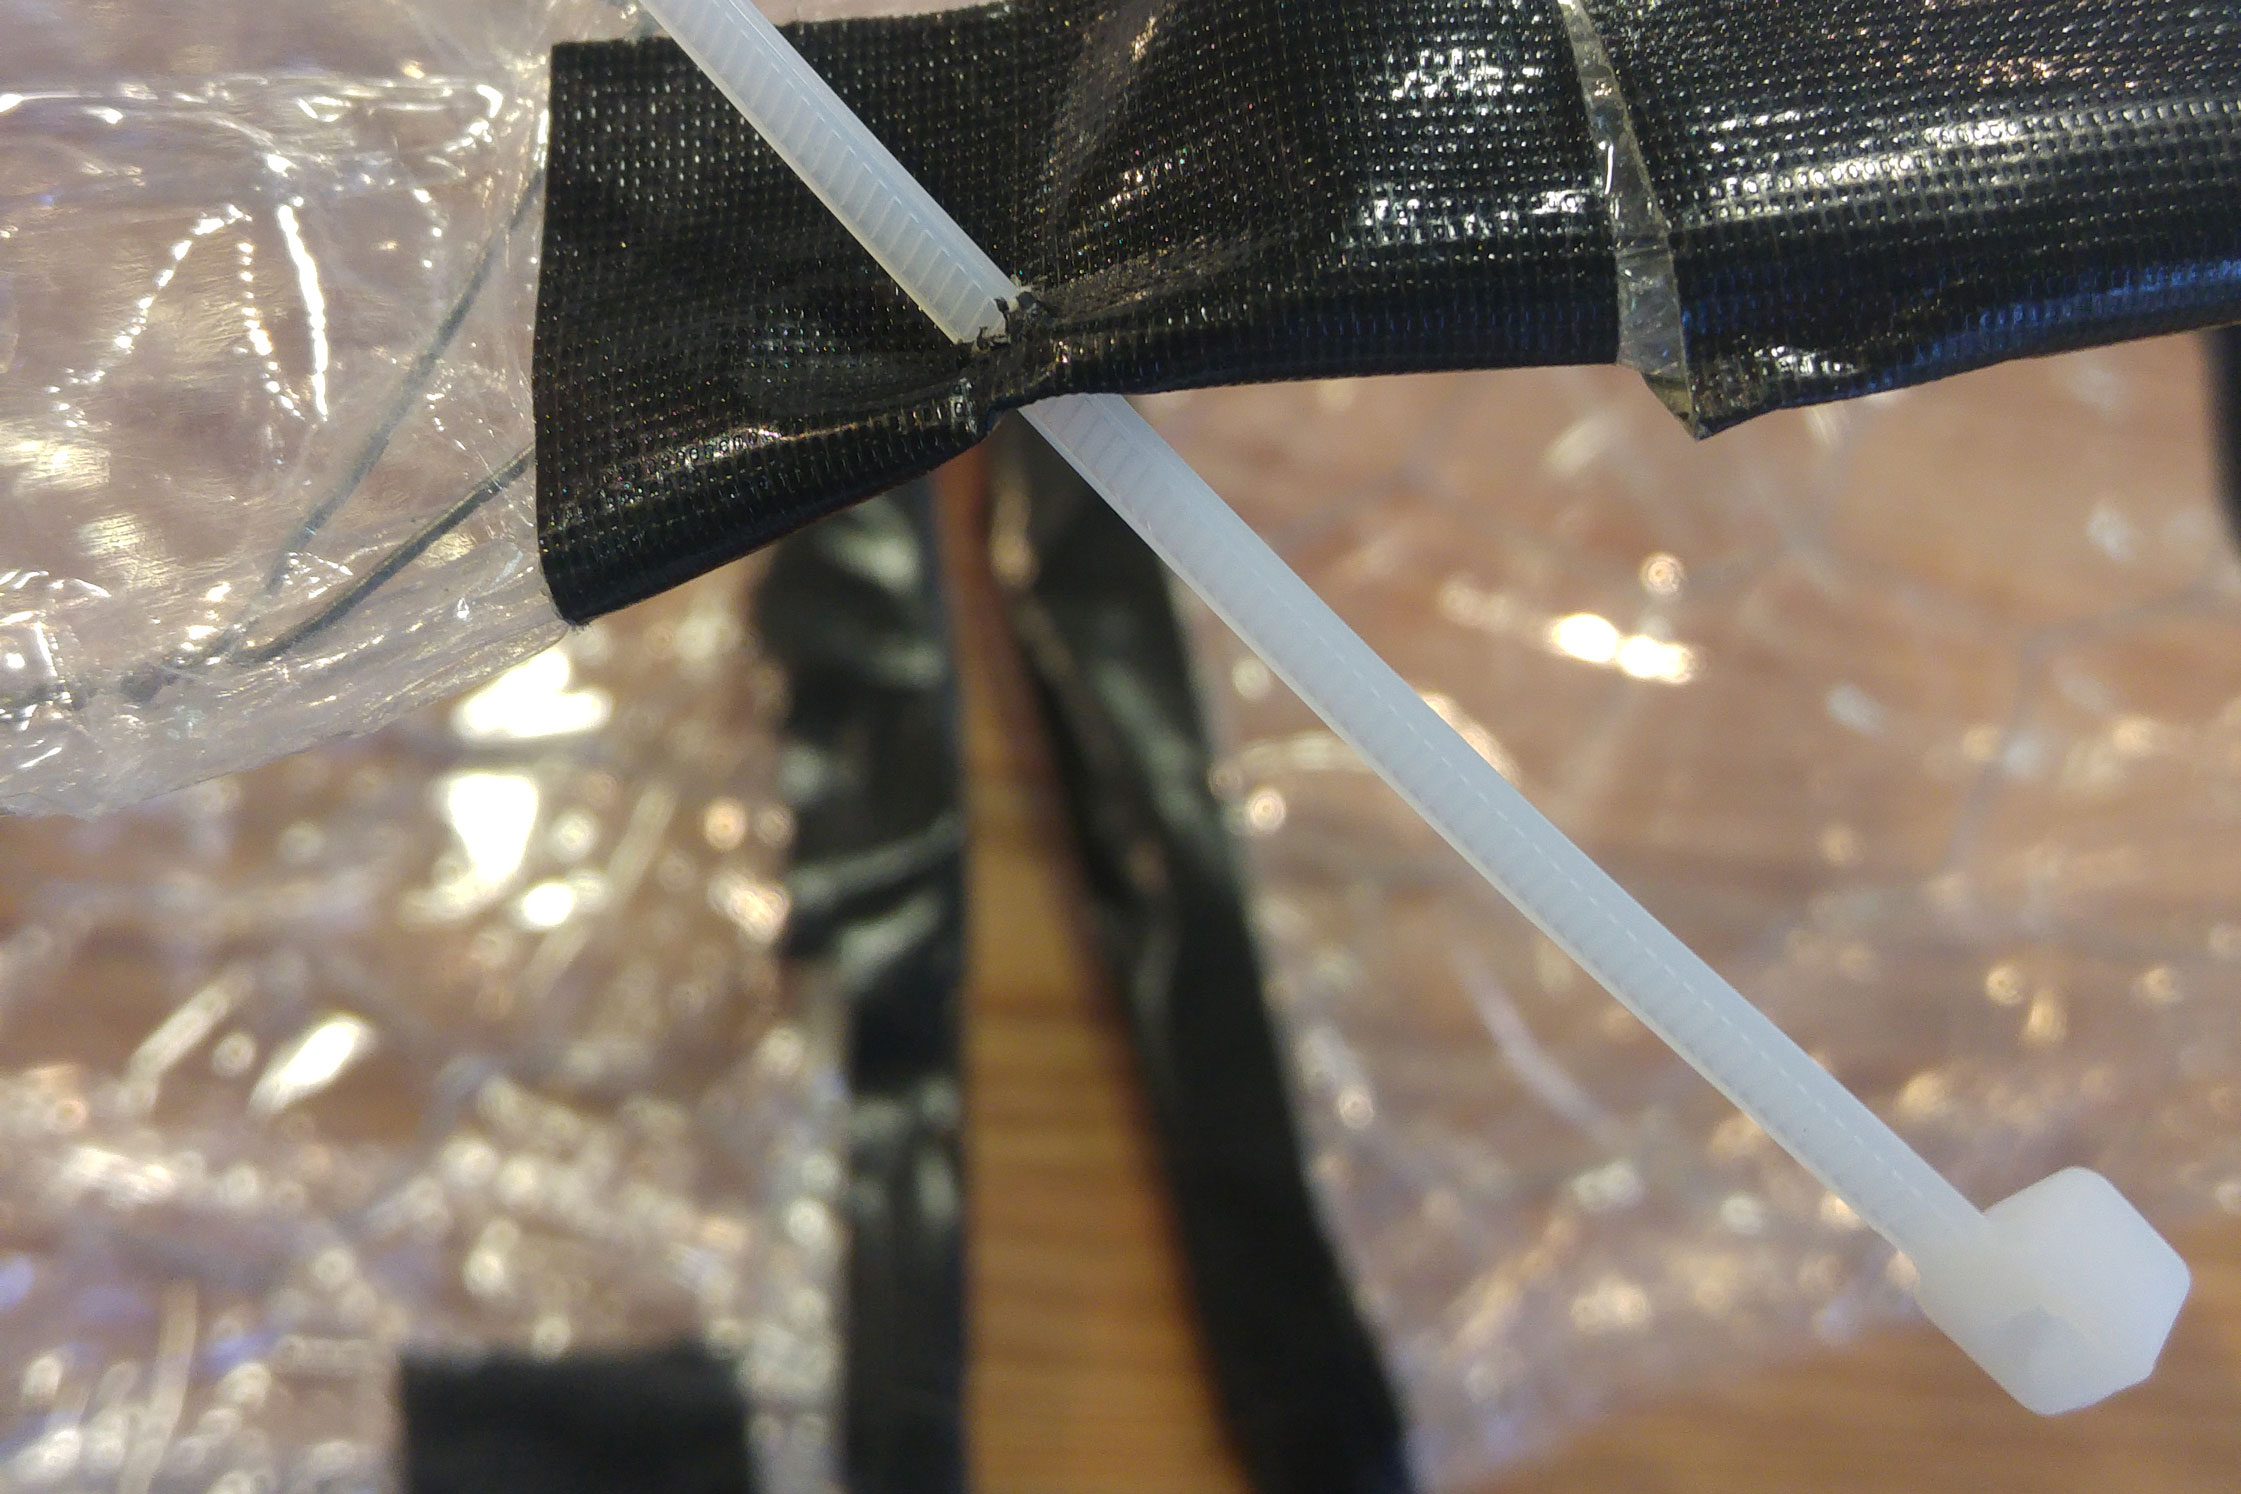
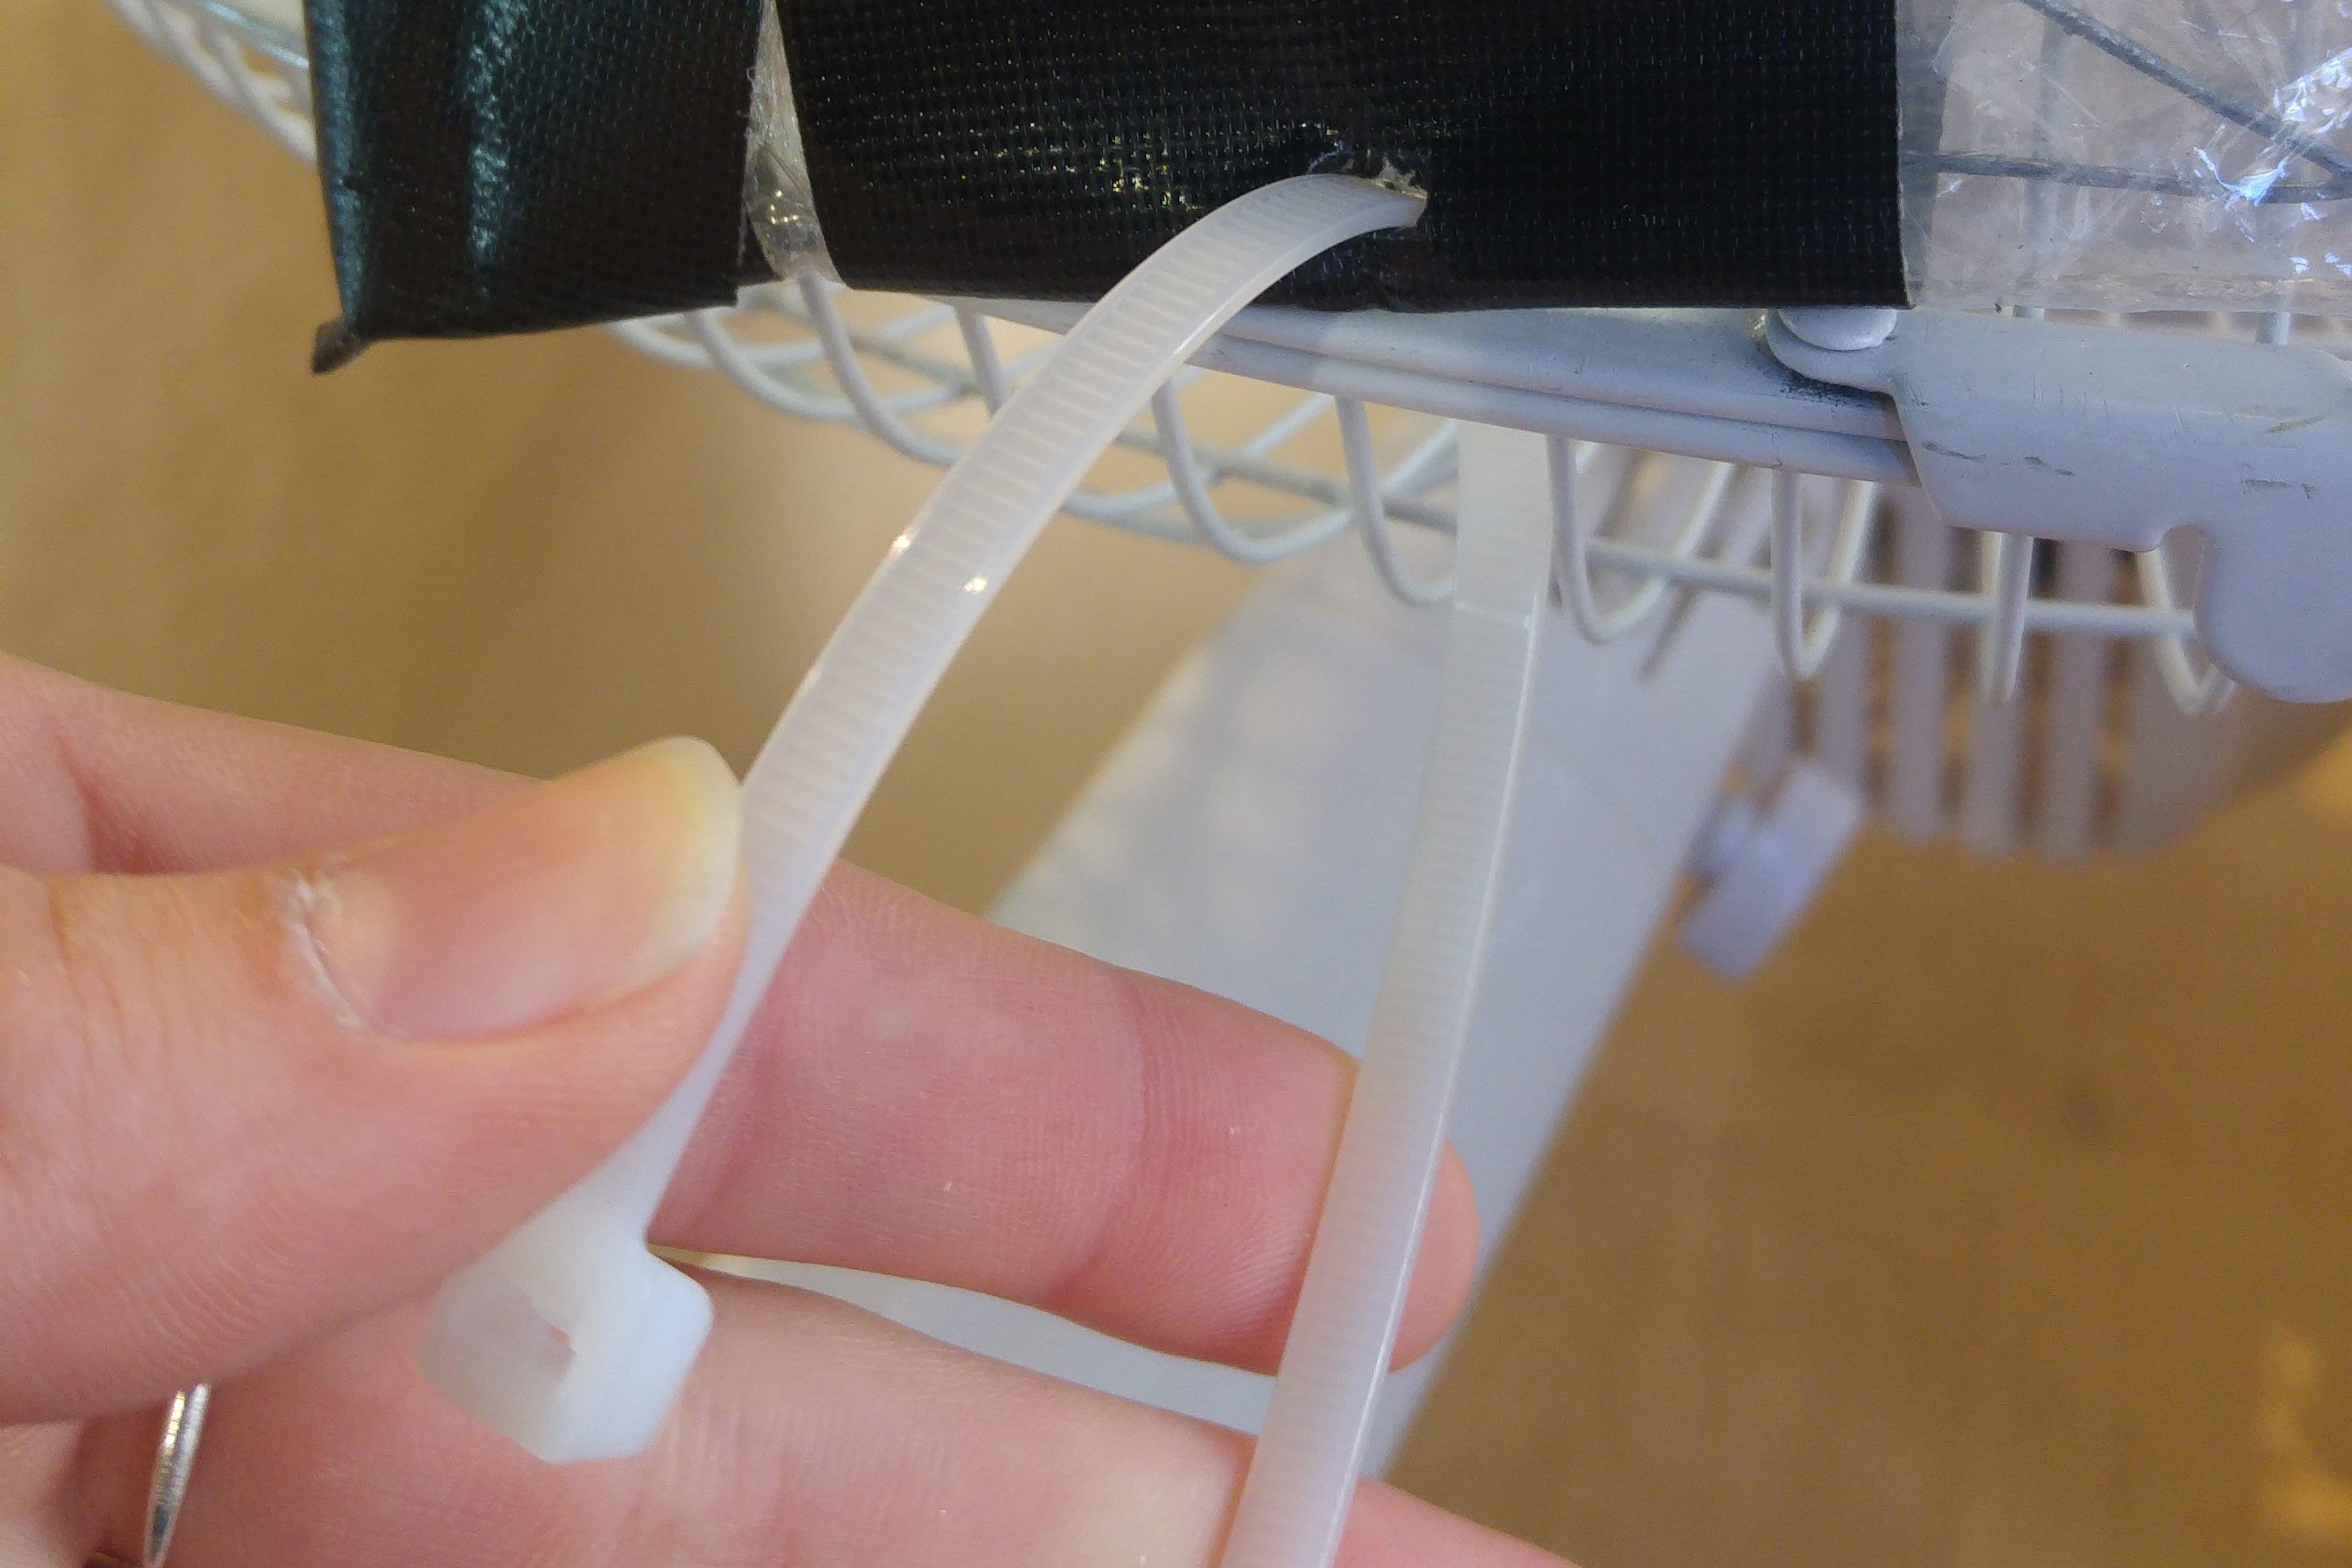
- Pierce a small hole through each piece of tape that will become an attachment point.
- Thread a cable tie through each hole.
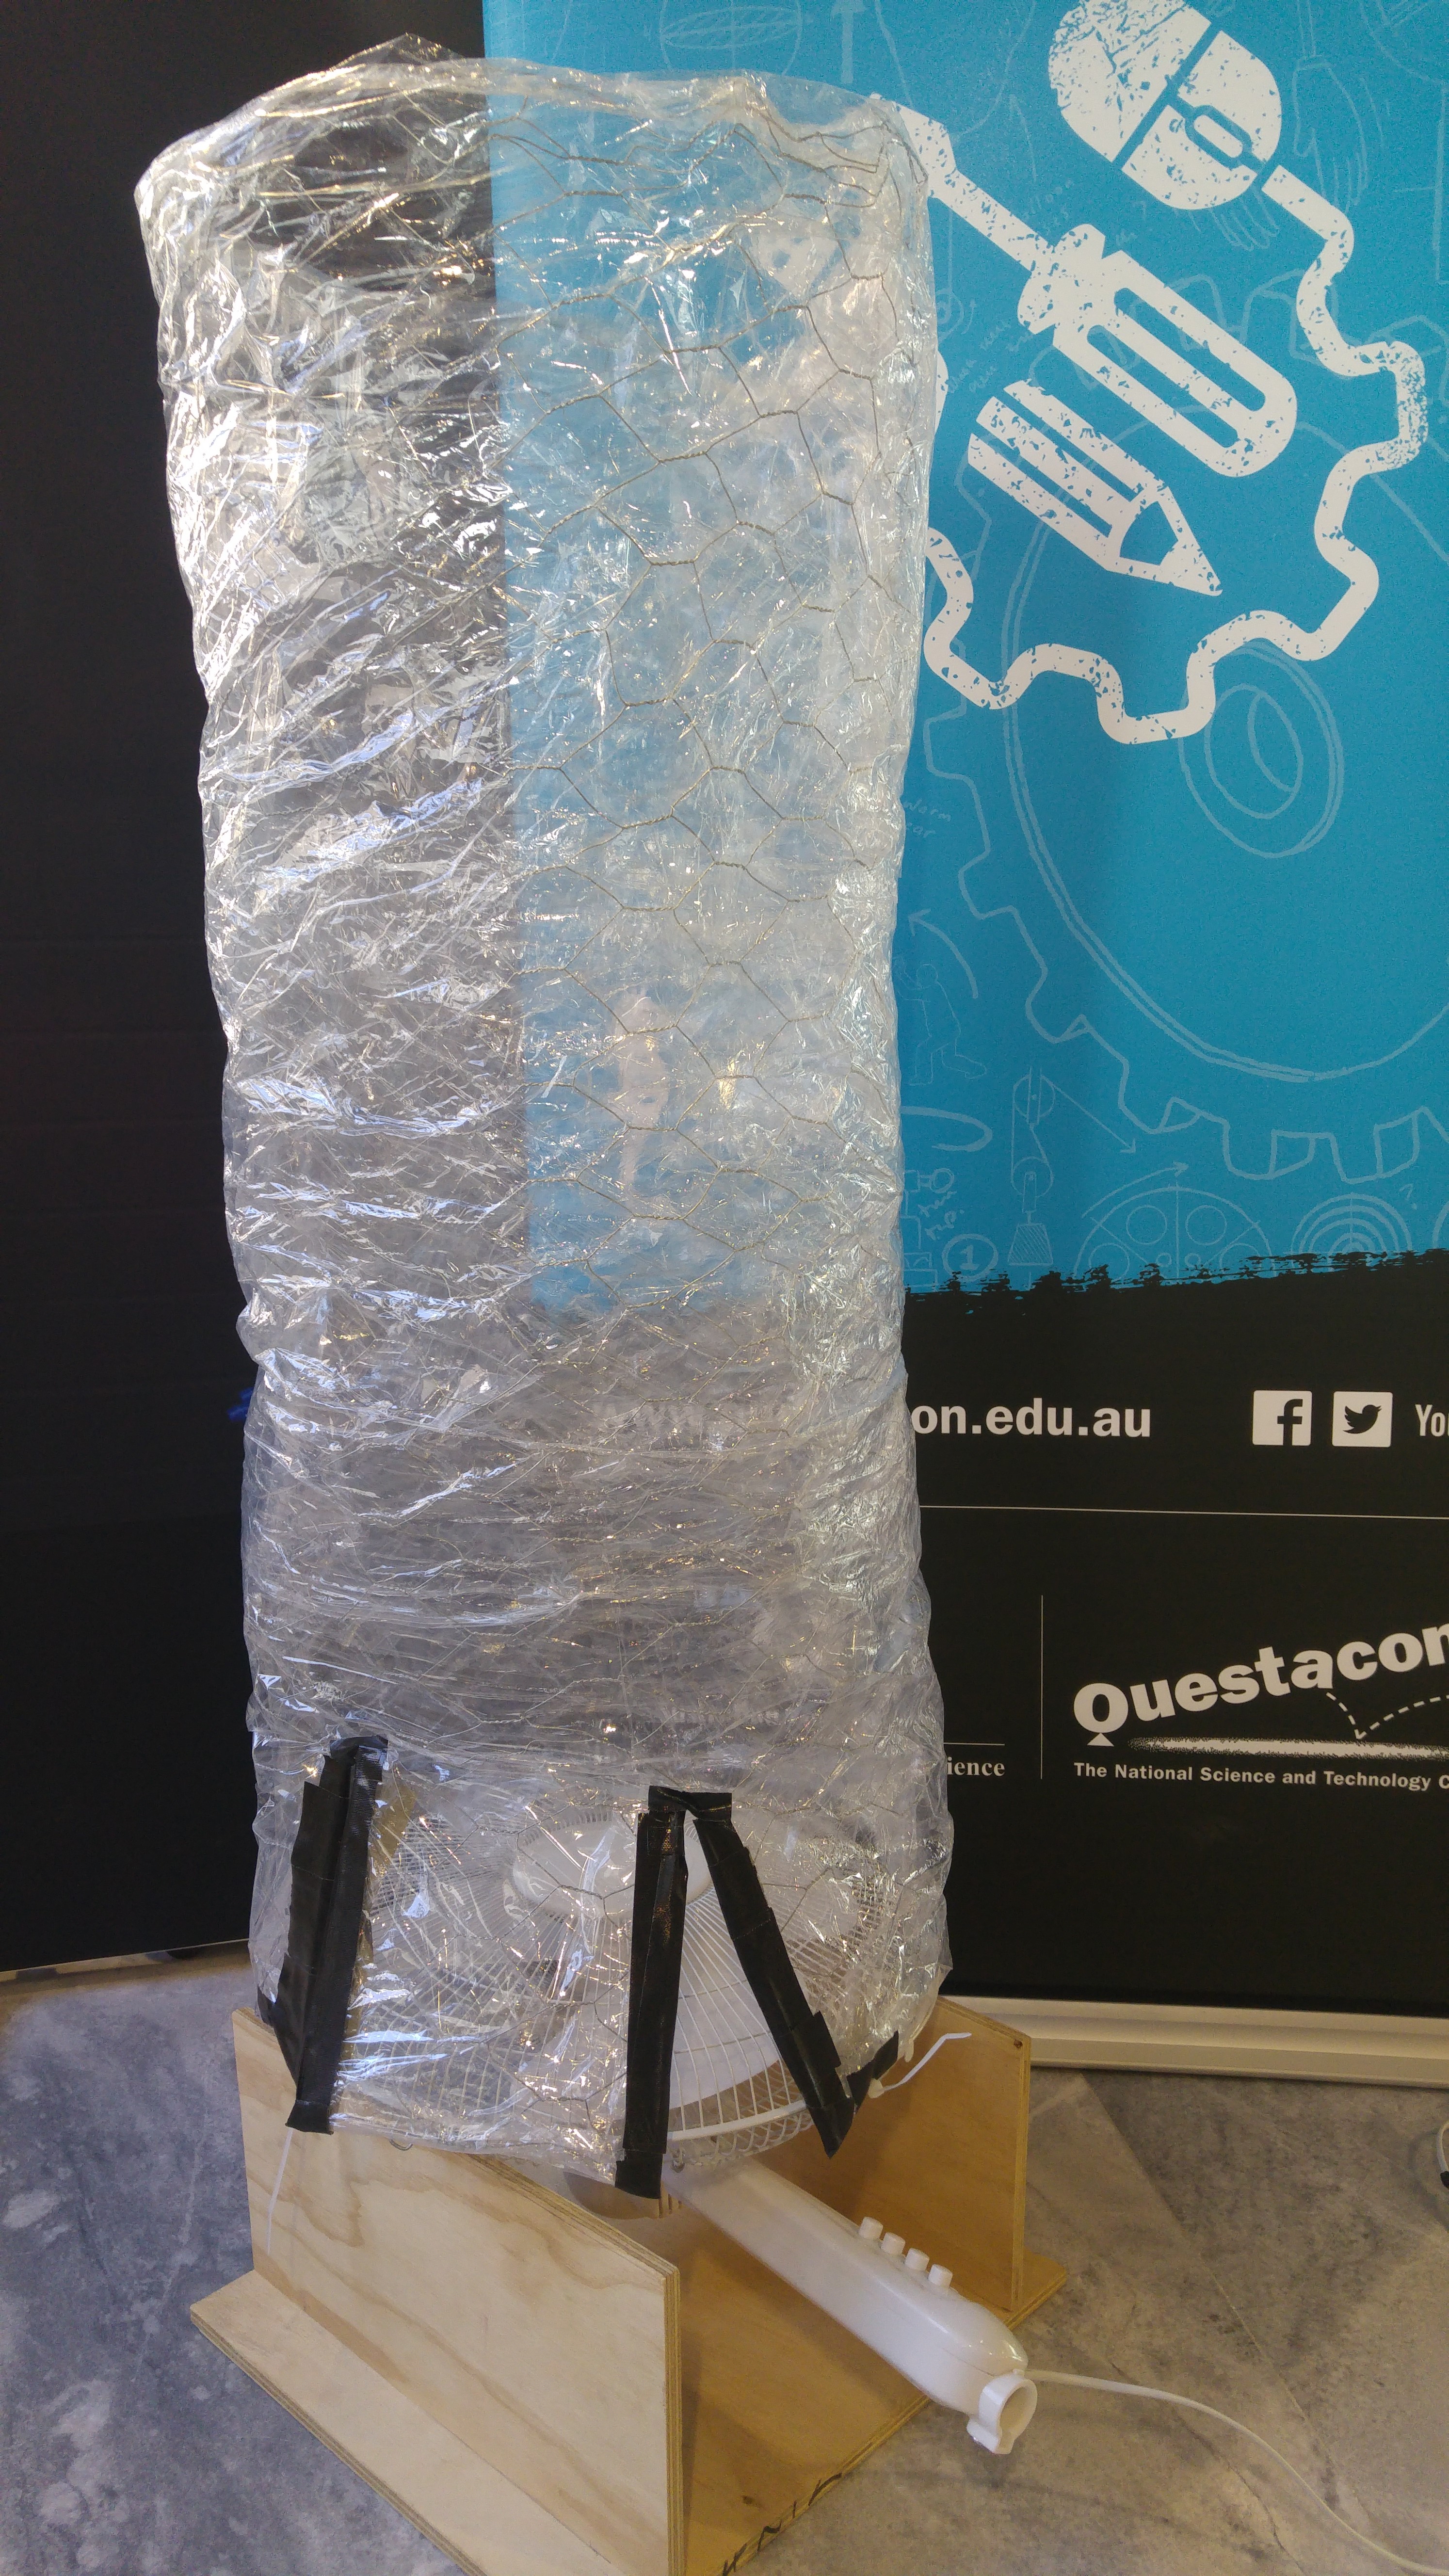
- Balance the tunnel on top of the fan, and secure with the cable ties.
Your wind tunnel is complete! Turn it on and try it out!
- Straighten any imbalances
- Add extra cable ties if needed
- Remove long edges of cable ties to prevent the fan blades hitting them.
Considerations
Cost
The wind tunnel and base can be put together for about $80 while the fans can range anywhere from $30 - $100. All up, this wind tunnel can be made for under $200.
Pros
- Simple to make
- Cheap and easy to source materials
- Tunnel is collapsible for storage
Cons
- Given the range of different plastics you could use for the tunnel, Steps 15-17 are fiddly. Do what works best for you, and share your method with us!
- Fans with blades can be dangerous, so care needs to be taken when students use them.
- The wind strength of these tunnels is quite high. If the wind tunnel is too powerful, it can be less challenging for students to create a floating prototype – try using the lowest setting to make it a little harder and encourage creative solutions.
Alternatives
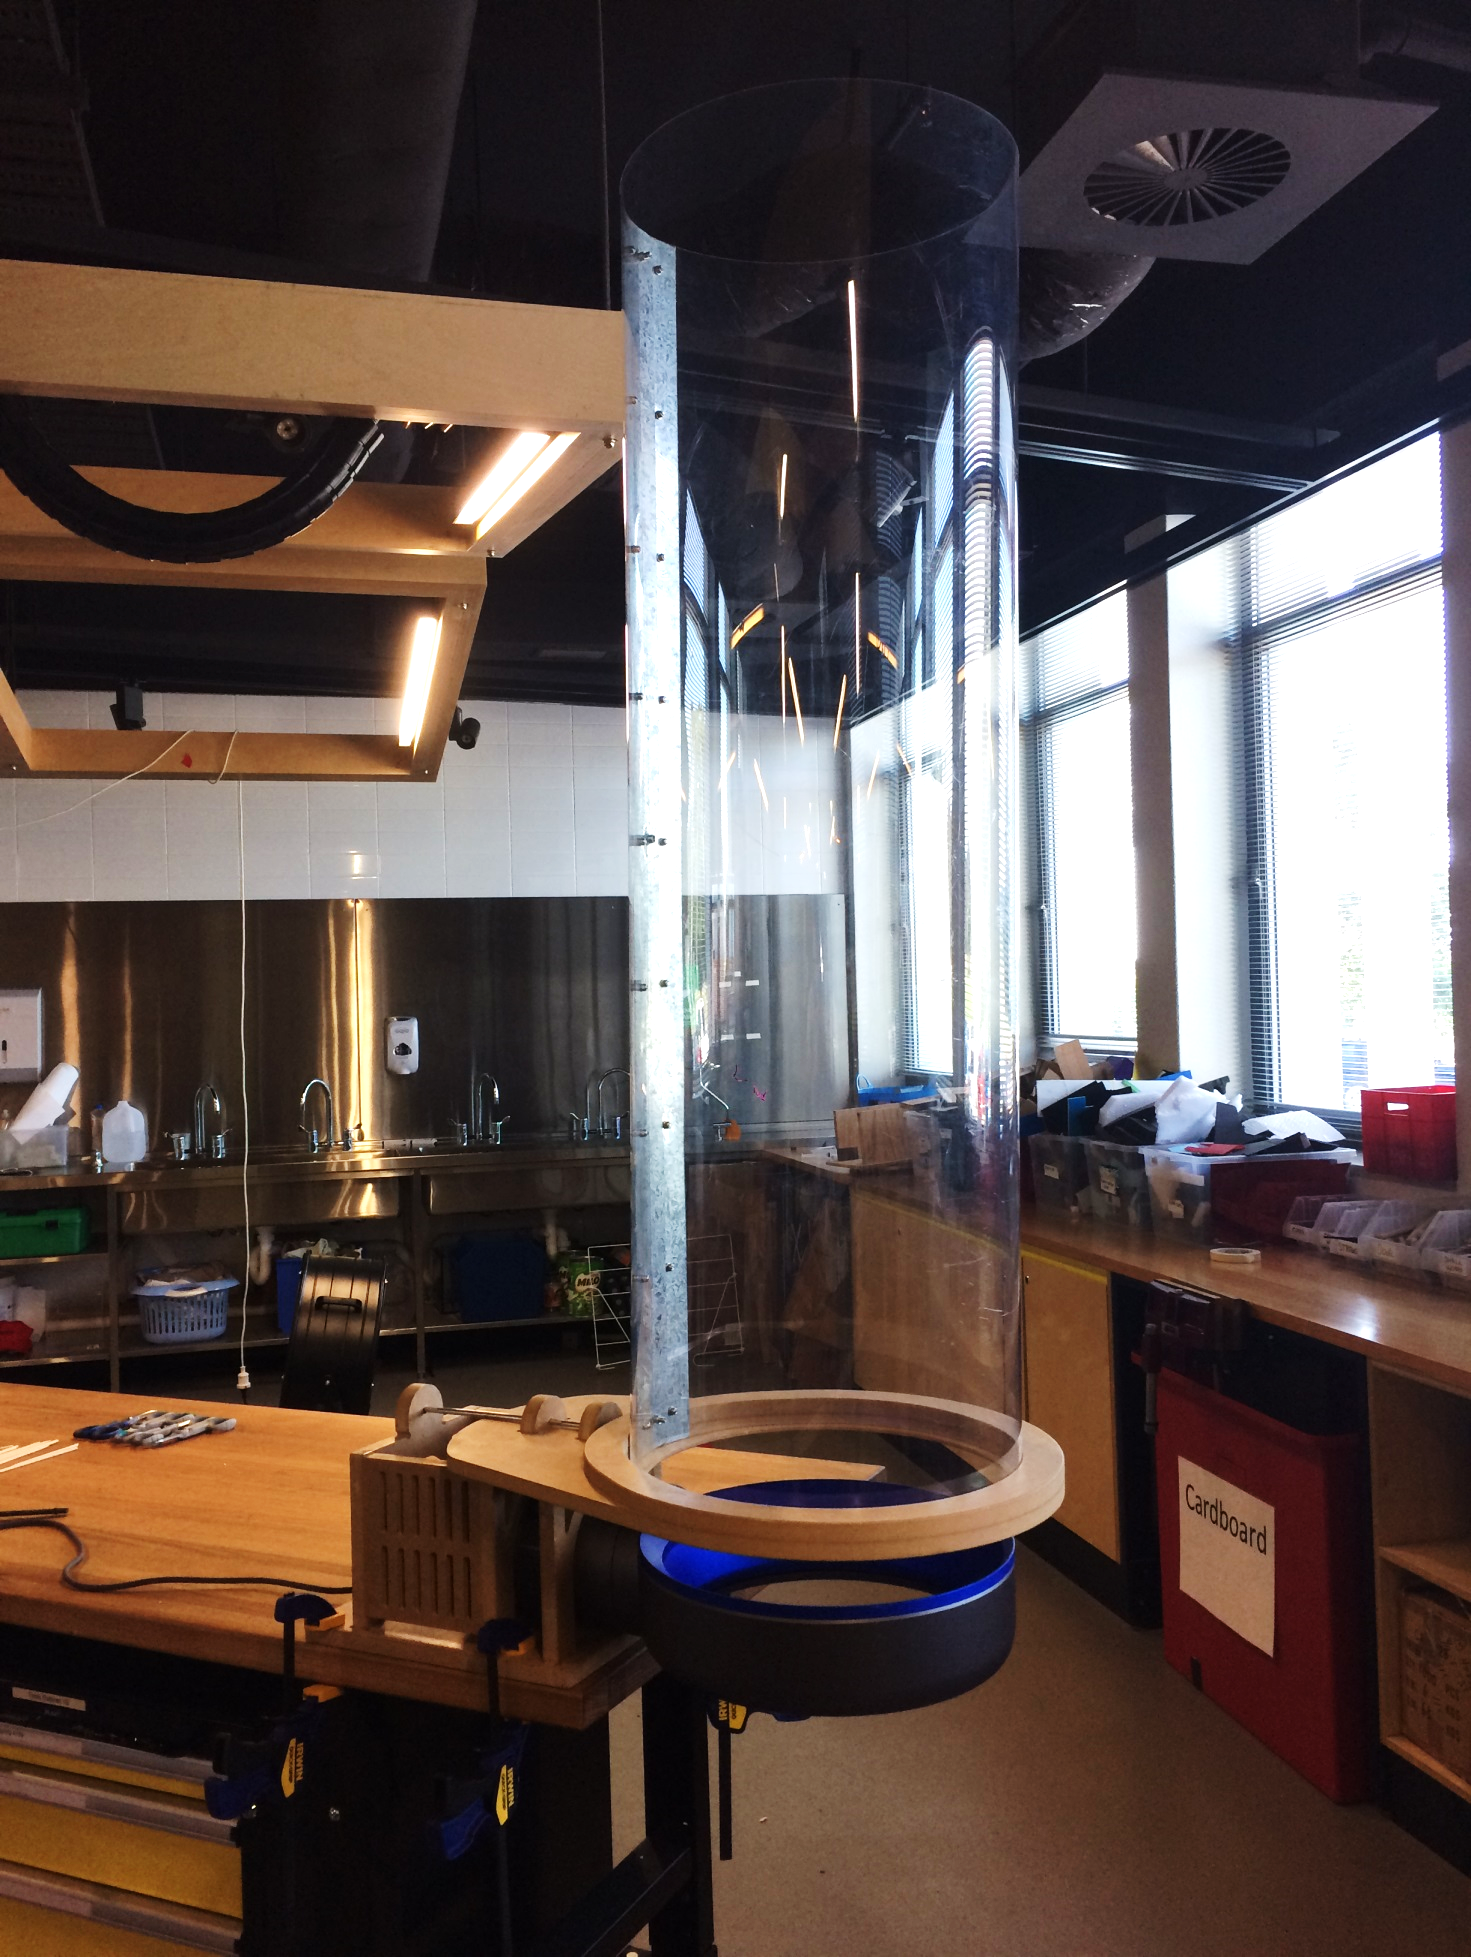
If you want to create a more robust wind tunnel to use year after year, like the wind tunnels we tour with (pictured below), you can download the CAD files at the link above (you’ll need access to CNC machinery).
Safety
- Edges of trellis wire are sharp, so ensure wire is covered with plastic and packing tape.
- Spinning fan blades can be dangerous so ensure supervision when using with students and leave guards over fan blades.
If you have any questions regarding this teacher resource, contact the National Tourings Programs team at nationalprograms@questacon.com.au.
If you would like to know more about our teacher professional development opportunities, contact the teacher professional development team at teachers@questacon.edu.au.
Links to Curriculum
Science As A Human Endeavour Strand
Through extension activities, this resource can be easily linked to Science as a Human Endeavour. All our resources can be linked to the Science as a Human Endeavour strand using extension activities which focus on the use and influence of science.
Science Inquiry Skills Strand
All our resources relate to Science Inquiry Skills across all year levels by encouraging questioning and planning, planning and conducting, processing and analysing data and information, evaluating, and communicating.
Science Understanding Strand
Each of our resources uniquely links to the Science Understanding strand across various years.
Design And Technology: Processes And Production
All our resources relate to Processes and Production across all year levels by creating designed solutions through investigation, collaboration and evaluation.
Design And Technology: Knowledge And Understanding
All our resources relate to Knowledge and Understanding across all year levels through the using and analysing various technologies and digital systems.


